Gail Keane sent these photos for the Winter Interest Foto Friday. The plumes of the Pampas grass are beautiful with the light shining through them.
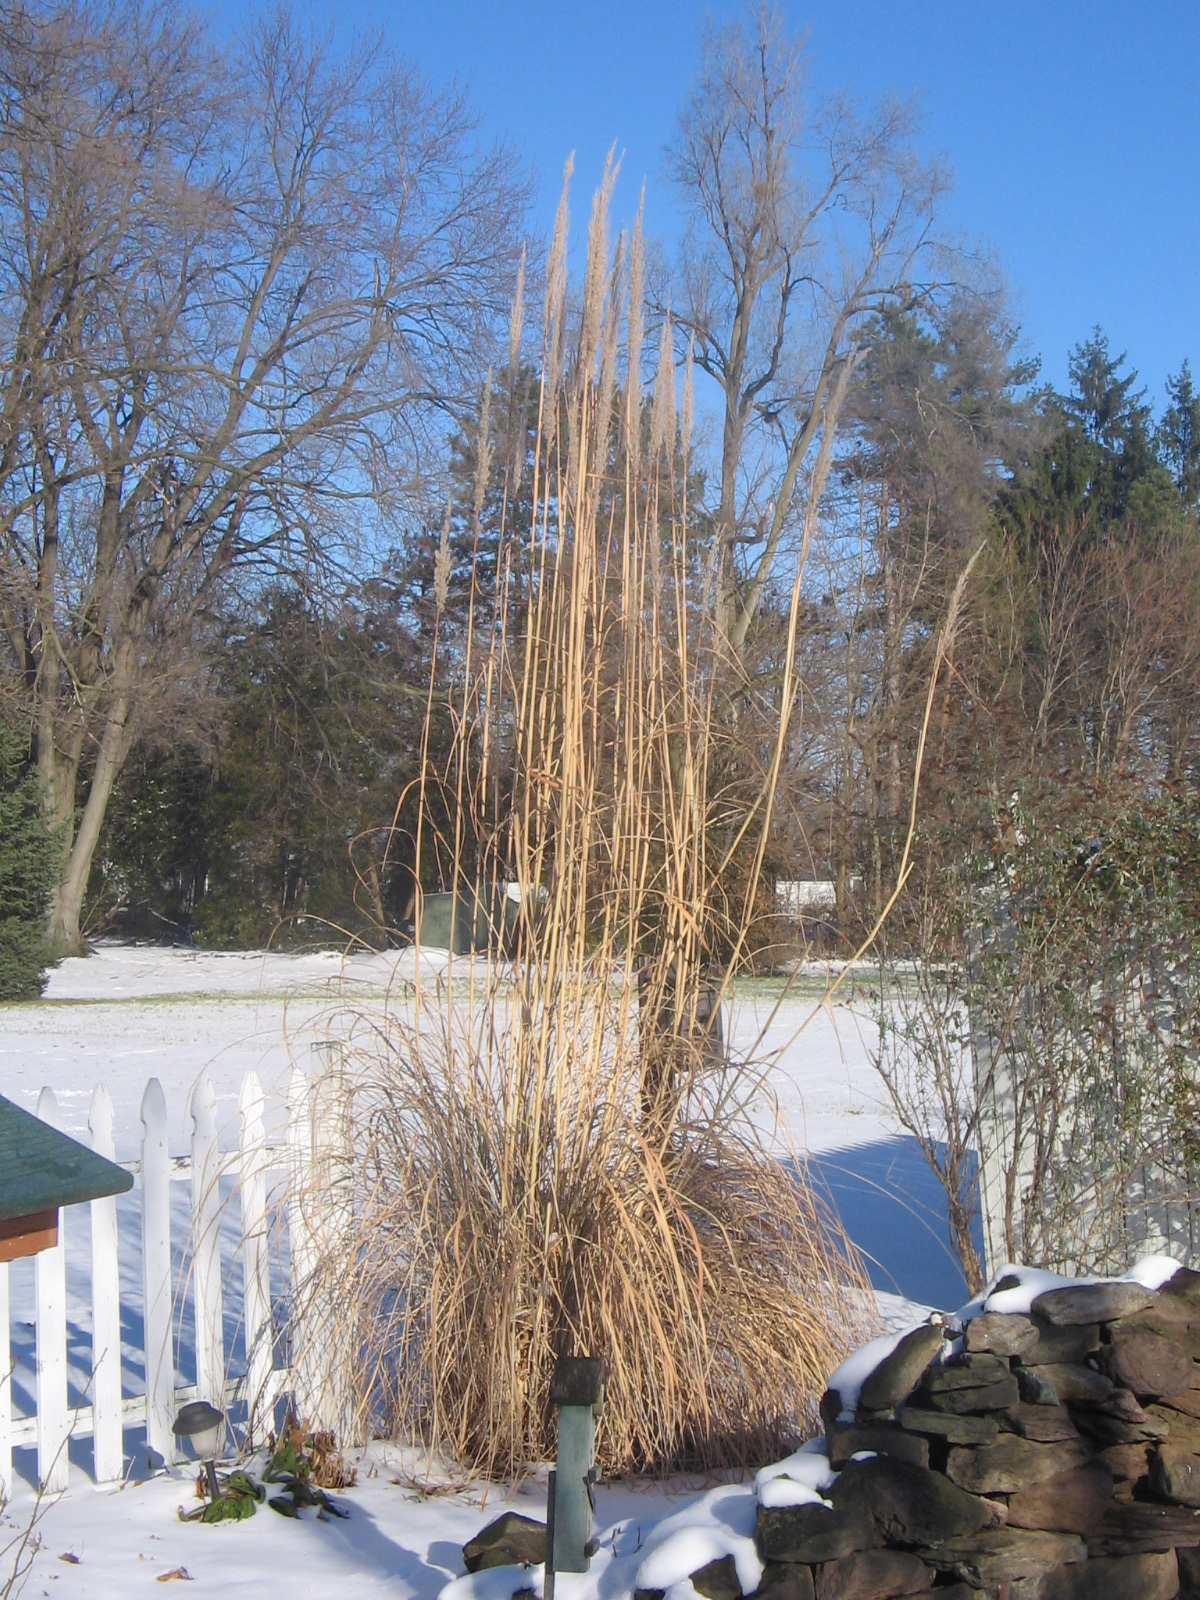
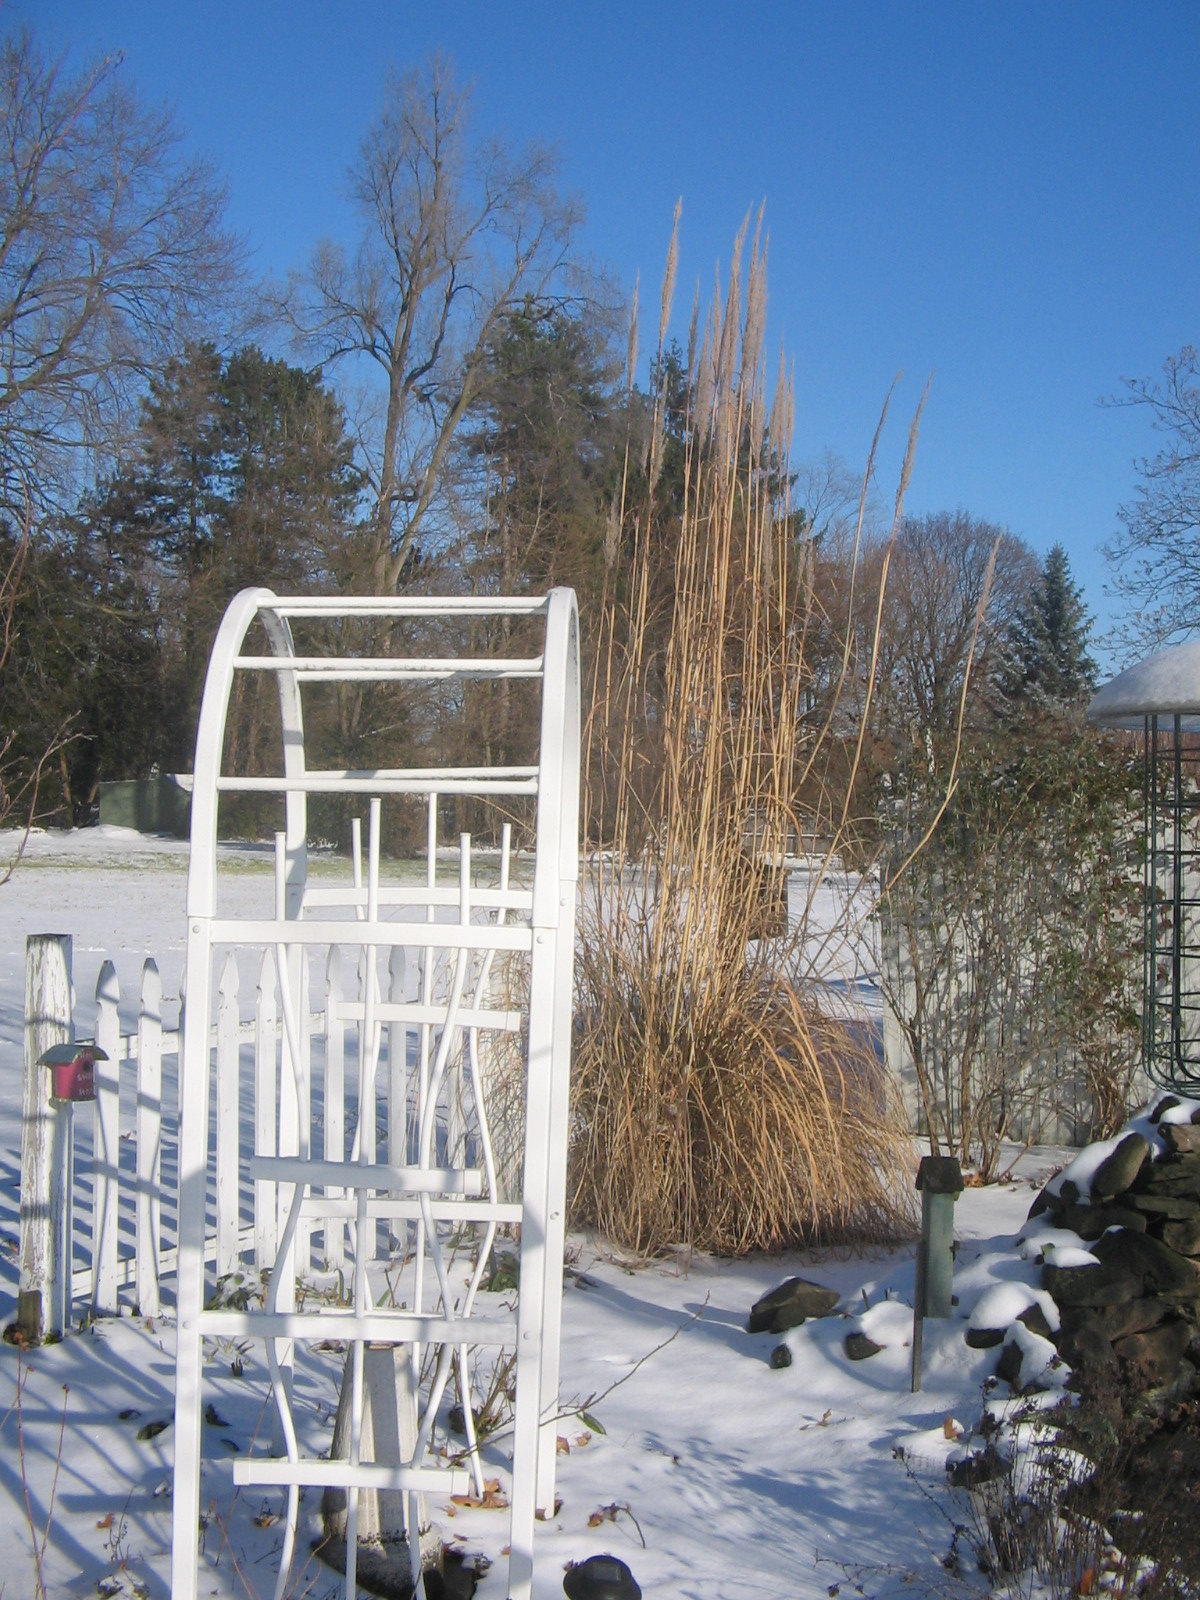
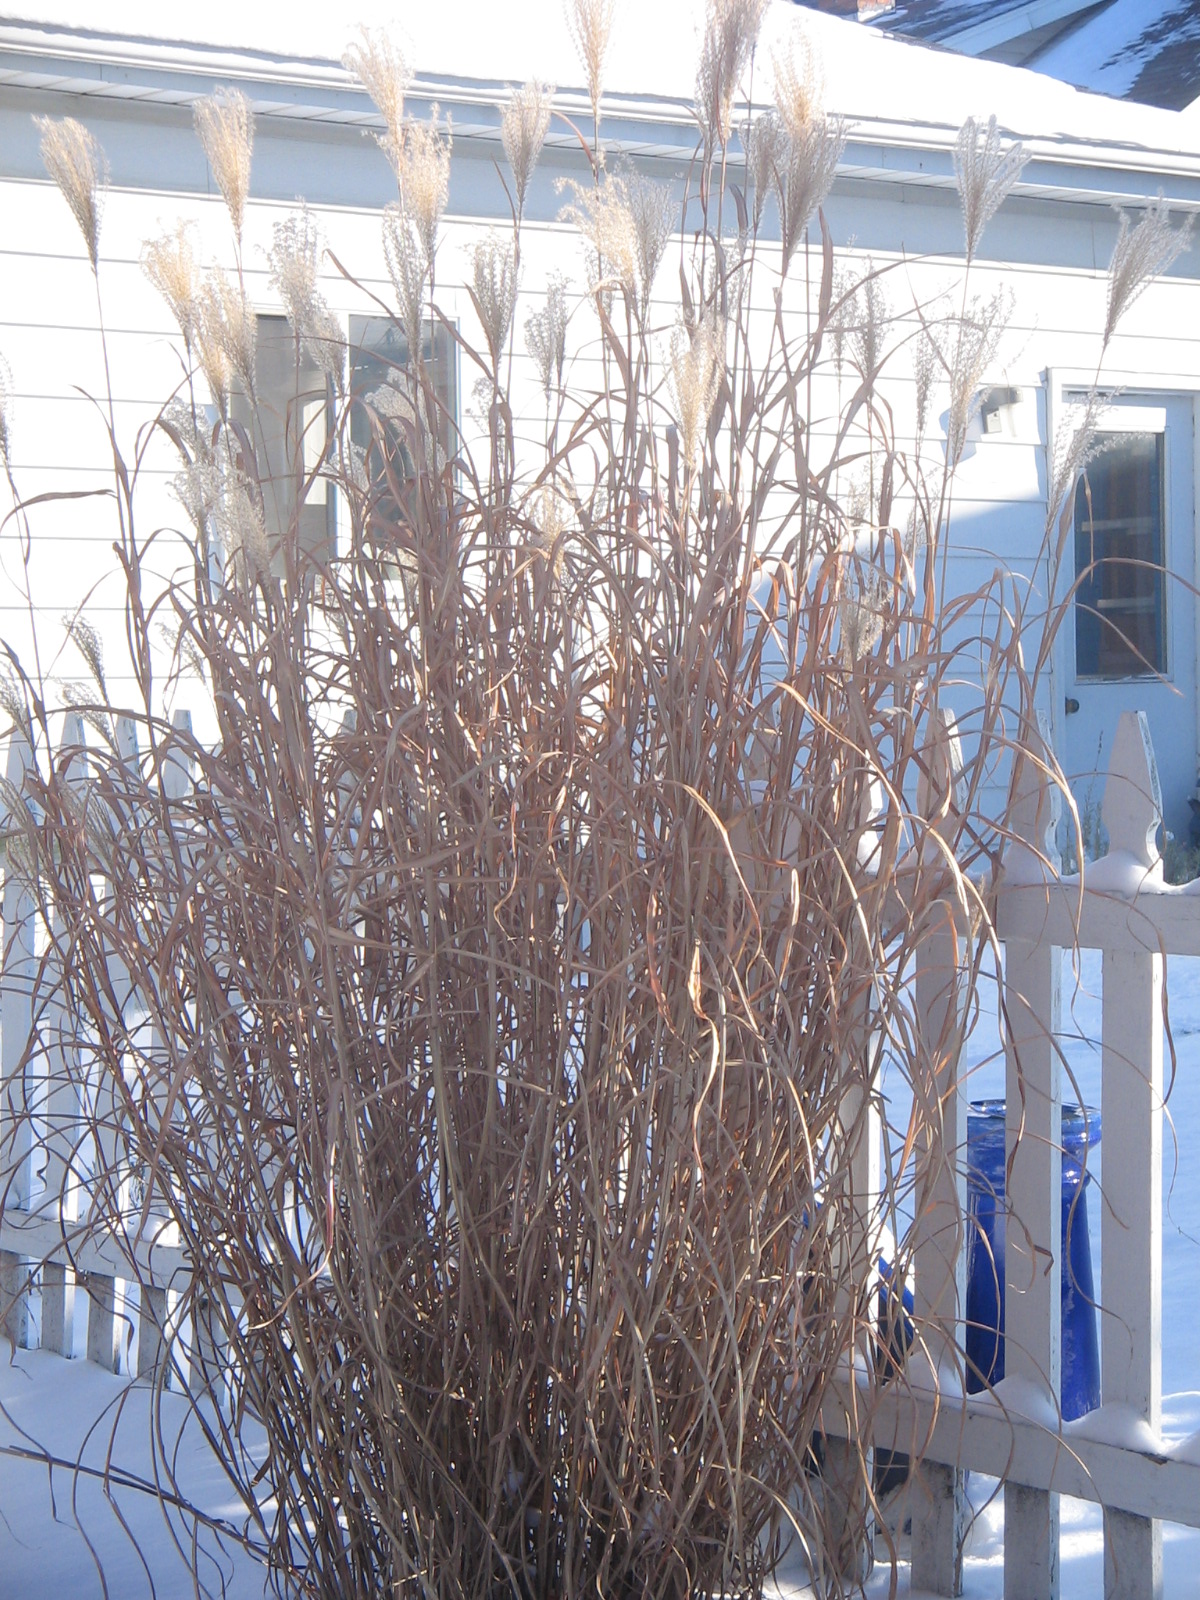
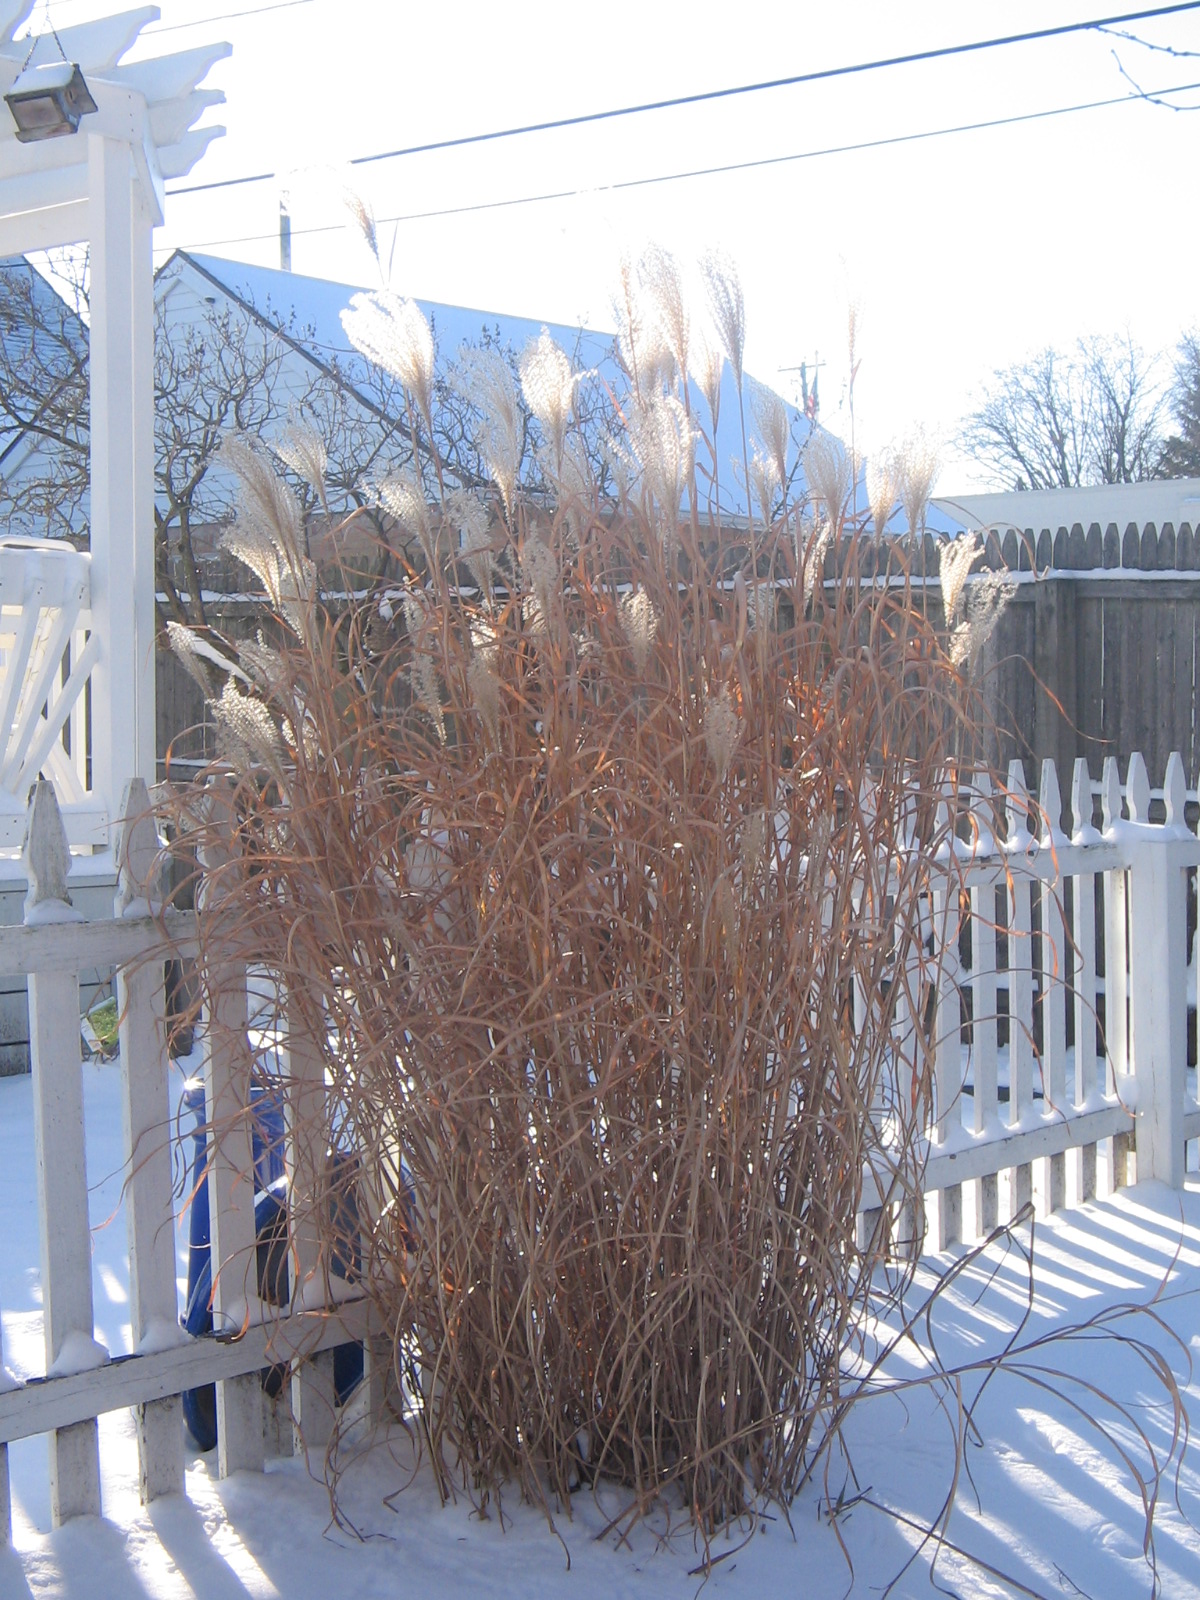
Gail Keane sent these photos for the Winter Interest Foto Friday. The plumes of the Pampas grass are beautiful with the light shining through them.
Posted in FotoFriday | Leave a Comment »

Ornamental crabapple overlooking my favorite summer reading spot
While going through the Blog to clear out a few items that were outdated, I found this post in the Dashboard. It was as a draft from Sue Ryan. Her photos are always so interesting. She does such a great job with photography. I hope she won’t mind, but I felt I should publish it for all to see. I’m sure she put it on the dashboard to eventually publish it. Thank you Sue for this post. She writes:
“I must admit I get excited at the first snowfall. The drab brown of late fall gives way to newness and light. I keep my gone-to-seed plants through the winter to provide a food source for birds. The colors and textures of the various barks, seeds, and evergreen foliage create an understated beauty and a sense of calm. We can indeed enjoy four-season beauty even in Michigan gardens. The beauty may not be stereotypical but it’s there for the looking!”

I even think kindly towards honeysuckle after a snowfall!

Coneflower heads remind me of cotton bolls
Posted in Uncategorized | Leave a Comment »
Often in the planting Guides on a plant you just purchased it may say something like this: “Enjoys deep, well-drained soil”. How can we tell if the area we wish to plant is what the guide is asking for? Well, there is a simple test you can do. In the area you wish to plant, dig a hole about 18 to 24 inches deep. Then, fill this hole up with water.

By watching how quickly the water drains it will let you know the type drainage you have. If the water disappears in 10 minutes or less you have sandy soil with fast drainage. If it takes one hour or more, chances are you have clay soil or an impermeable layer of compacted soil beneath the surface. This indicates poor drainage. In between you will find acceptable variations
Poor Drainage causes the soil to stay cold and wet in spring when the rains fall. This delays planting and reduces seed germination. Often plants will drown due to lack of oxygen or develop shallow roots. Roots or crowns typically will rot if the ground is too wet.
Posted in Gardening | Leave a Comment »
Gail Keane was so nice to give us the link to the State Park DNR Stewardship program. It includes a calendar of workdays available as well as other projects. You will find it located in Gardening Resources area. You may be interested in volunteering at some of these events; especially the Sterling State Park programs which are close to home. Since there are so many events I have not listed them on the calendar, however I will list those for Sterling State Park. All others may be viewed by going to the link and viewing their workday calendar.
Posted in Favorite Gardening Websites | Leave a Comment »
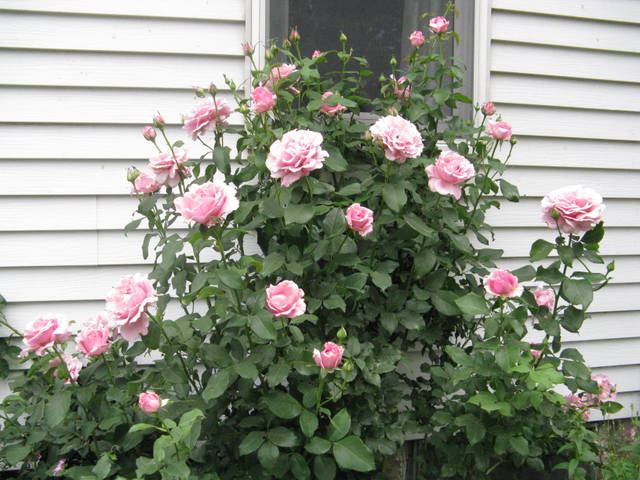 Jennie sends up a photo of her rose. “It is ‘Memorial Day’, a hybrid tea rose! When my Dad died it was given to me by my MSUE office colleagues, and while I would not have chosen a tea rose, it was the 2004 All-America selection and earned the award for being both disease-resistant and fragrant. It is both and I am glad to have it. The photo was taken on Memorial Day 2012.” What a beautiful rose! It’s just so full of bloom.
Sam DeCola from Temperance Mi sent us a photo of his Knock-out Roses. Sam is interested in becoming a Master Gardener. He has the perfect job too, he’s employed at the nursery area of Andersons. The roses are a nice contrast to the fence and accent to the petunias. Beautiful photo.
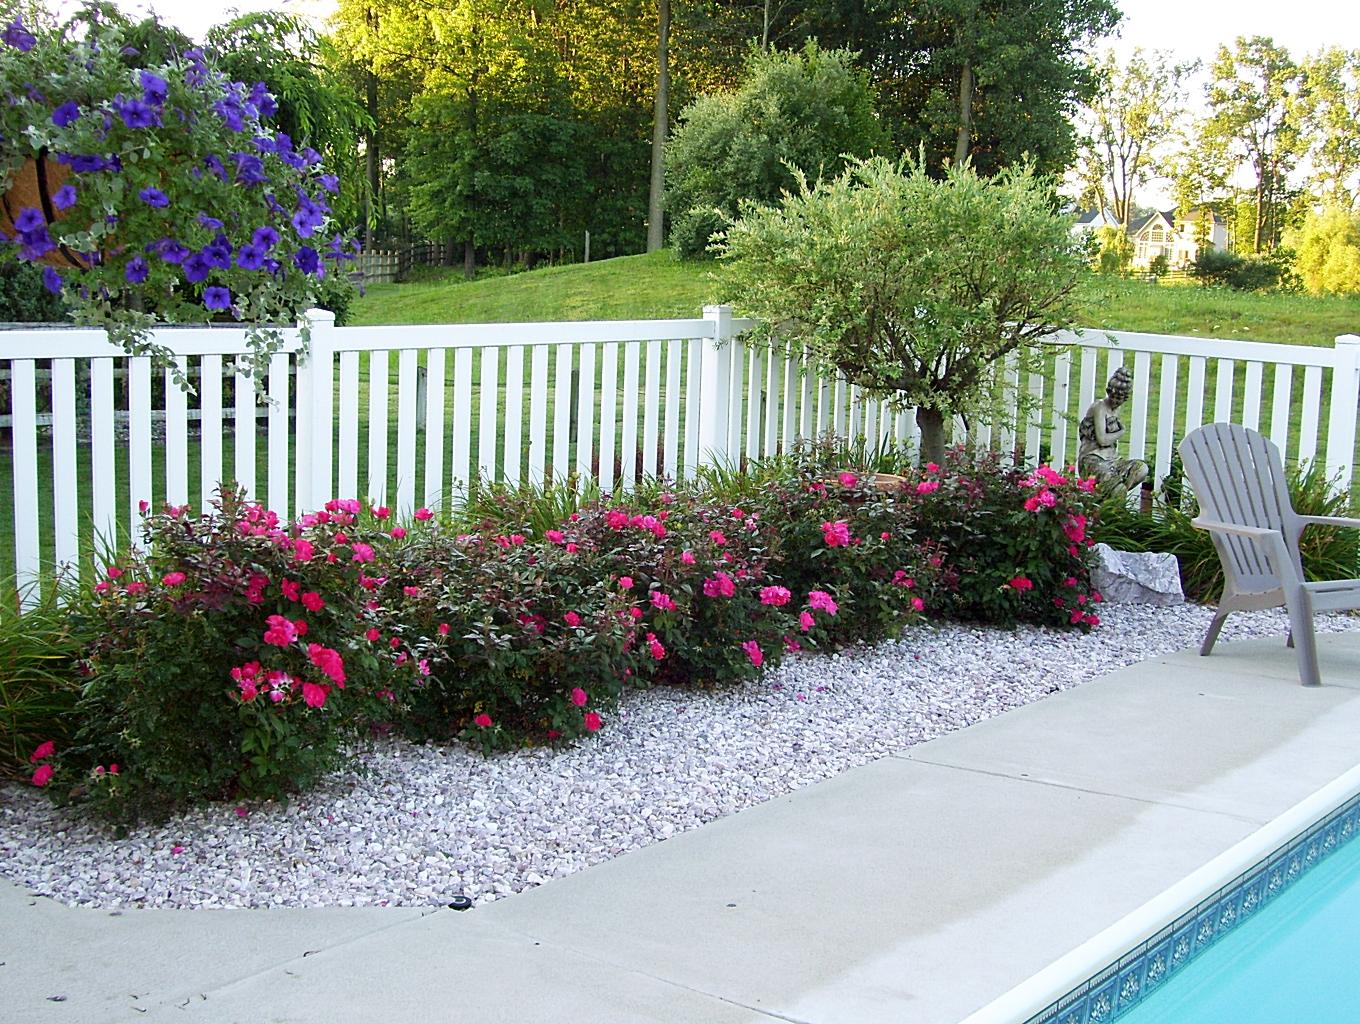
Don’t forget to include your favorite rose, or photo for next Friday’s Edition
Posted in FotoFriday | Leave a Comment »
I’ve moved the link for the MSU Horticulture Garden News from MCMGA links into Garden Resources you will find it there. I’ve also add two added resource links in the Gardening Resources. These were provided by Frank and Jennie. The first is The Oakland Gardener Newsletter. This newsletter gives us incite and ideas of other projects going on. The second is Agricultural Research Services. Jennie commented “this site offers research reports as well as a section for kids with ideas for ag-related science fair projects, and simpler descriptions of some of the interesting research like feeding citrus peels to cattle so that the natural antibiotics can regulate harmful bacteria in their guts. And there is the 2012 hardiness zone map. Looking at the Michigan section, I see the Milan and Dundee folks are still 5b, while you LaSalle and Luna Pier gardeners can try “southern” 6b plants!” I’m sure you will find both of these sites great reading resources.
Posted in Favorite Gardening Websites | 1 Comment »
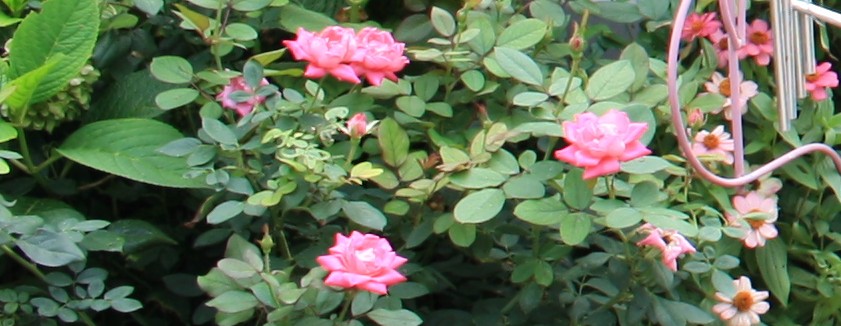
Who can think of the month of February without thinking of a Rose? The rose is of the genus Rosa and is a woody perennial. It belongs to the family Rosaceae. Although we associate getting roses from our loved one with the hybrid tea rose, my favorite to grow is a “true knockout”. The Knock Out® Rose is the most carefree rose you can grow. It’s winter hardy as well as heat tolerant. It’s even self-cleaning, although you may want to deadhead it after bloom to encourage additions flowers. This rose is also the most disease resistant making it a great choice for the garden. You can find it blooming every 5-6 weeks until there is a hard frost. Knock Out® roses come available in a variety of colors with single or double blooms. To top all of these positive growth habits, you also find them available fragrant. To add one more benefit of this plant; its foliage is a health lush green that looks good even when the plant is not producing blooms. What more could a gardener ask for in a rose? Just sit back and enjoy it’s beauty. Plant it for a shrub border, a hedge or for a foundation planting. I’ve even added them into containers. It’s a great stand alone rose, but accents other plants perfectly. We are all aware of how much we have to maintain the typical hybrid tea by pruning, making sure it doesn’t have black spot or even downy mildew and getting that one or two few blooming times a season. This rose gives us beauty throughout the season. Plant one this spring, if you haven’t already and enjoy. Send me your photos for Foto Friday of your favorite rose.
Posted in Gardening | 2 Comments »
You should now be able to view events on our Calendar Page. If you have an event you would like to have posted on the calendar, please send it to me by e-mail.
Posted in Events, Uncategorized | 8 Comments »
You will see a new link added to our MCMGA links found along the right side of the Blog called MSU Horticulture Garden News. It is toward the bottom so scroll down to find our MCMGA link area and click on MSU Horticulture Garden News. The link will then load to that page. This is a great informational link with many articles for us to dig into during these winter months.
Credit for giving us this source goes to Georgeann who sent it to Frank. I think you all will enjoy it.
Posted in Favorite Gardening Websites | 3 Comments »
Posted in Uncategorized | Leave a Comment »

