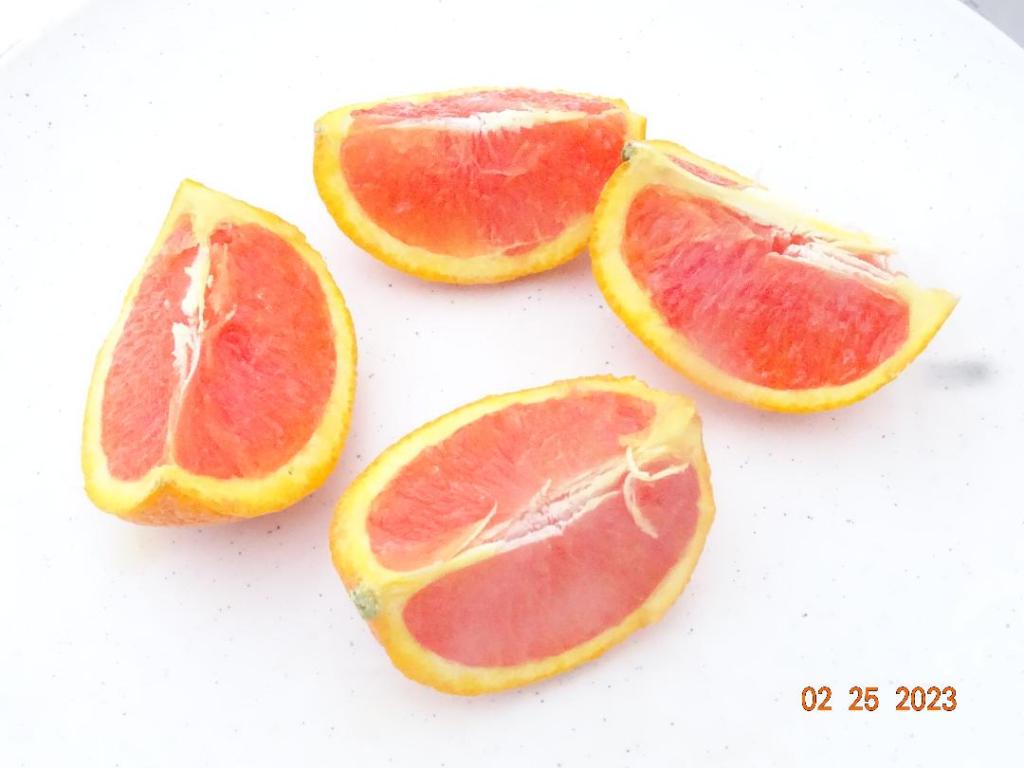
At our last meeting-Stella brought CARA CARA oranges for our snack. I had never eaten one so I had to try–seemed to me they have a distinct flavor. Some questioned:
Were they a cross between a blood & naval orange??
Jennie shared, the red color in fact due to LYCOPENE.
The same component in tomatoes…..raising the question
fruit or vegetable?? I will leave all of this up to you to ponder ……
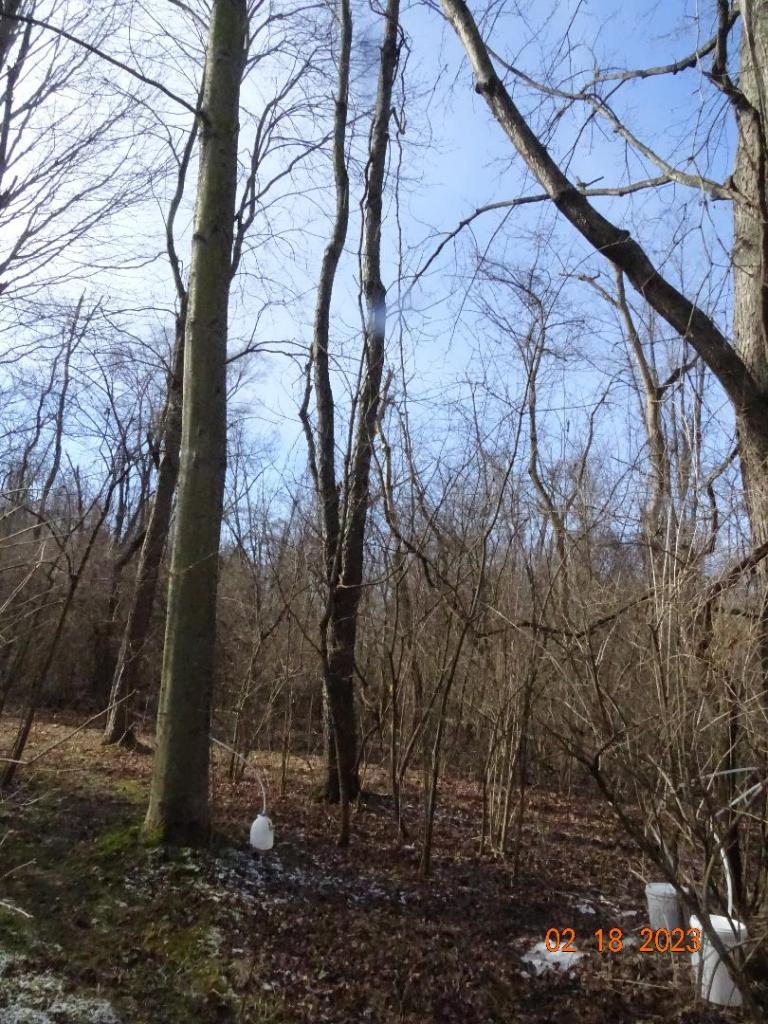
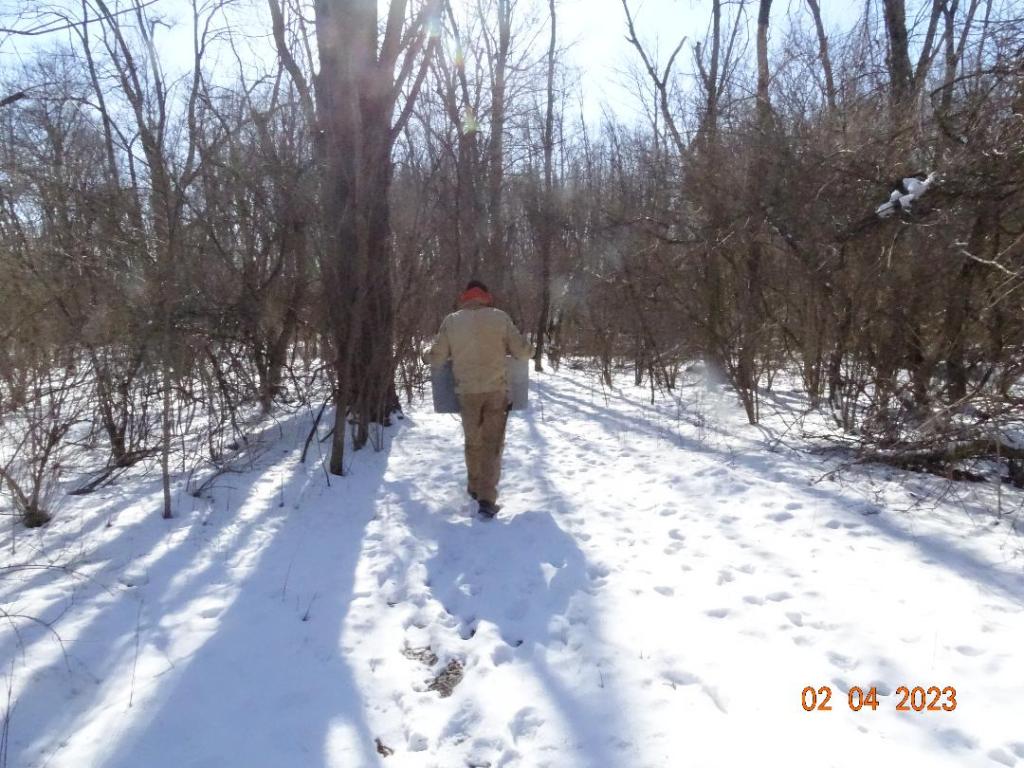
Join me as I head back to the woods; it’s been 14 days since Scott tapped his maple trees & I’m curious to see just how much sap he has collected.
It’s sunny & despite no snow-it’s colder (slows sap collecting);
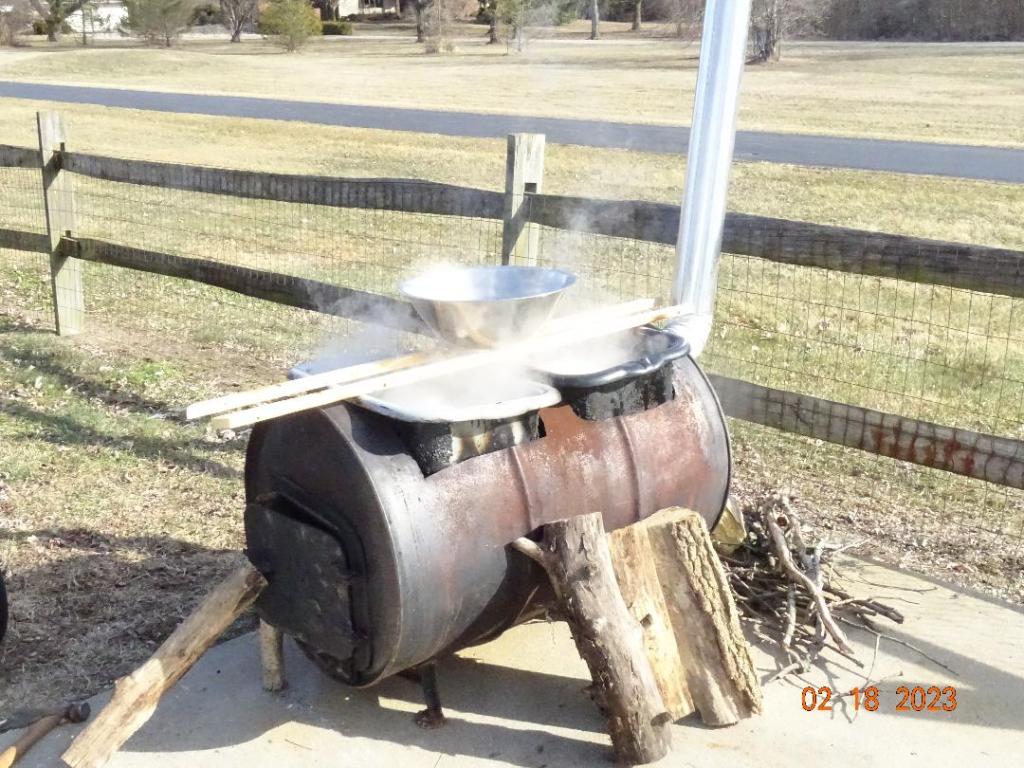
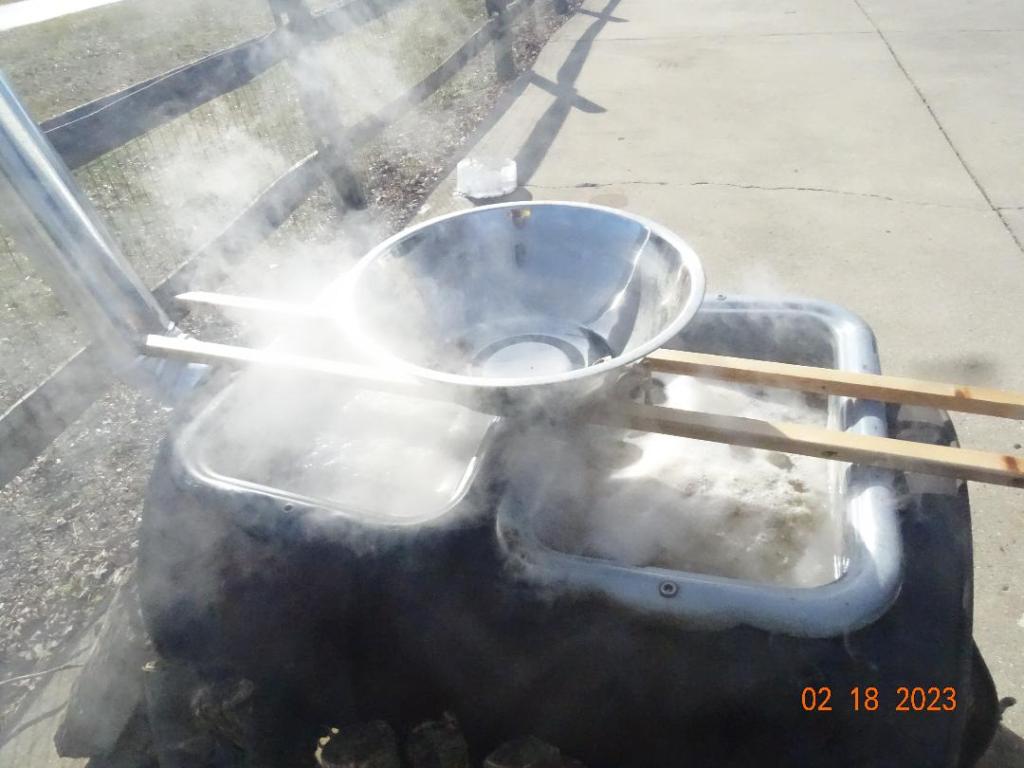
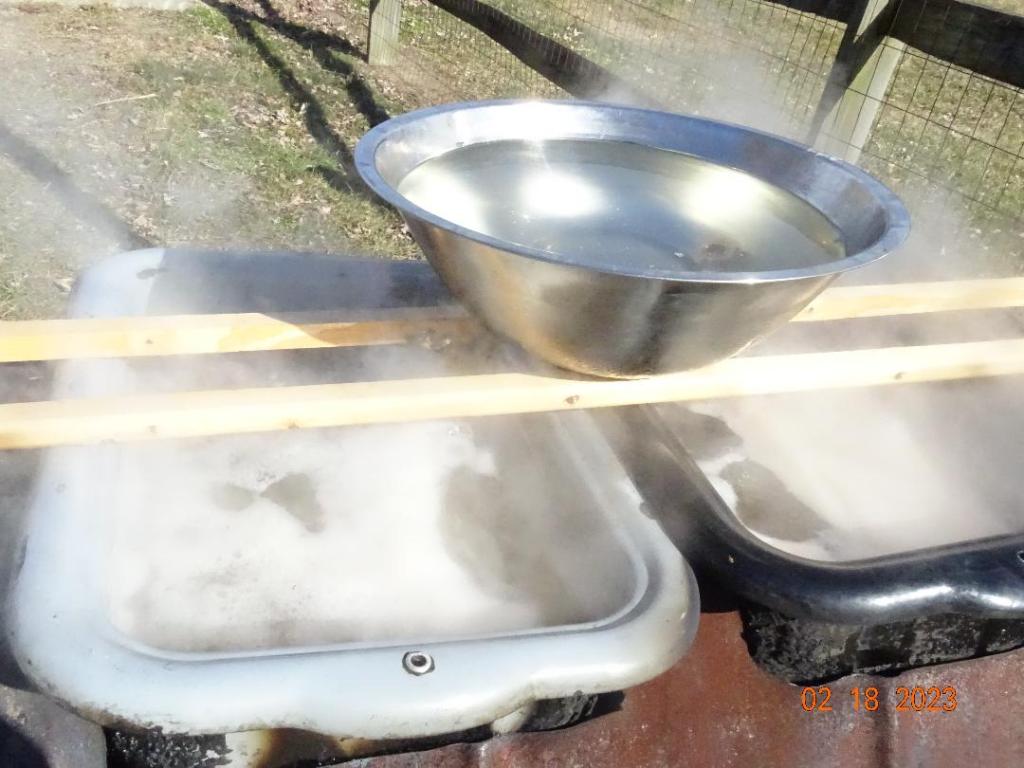
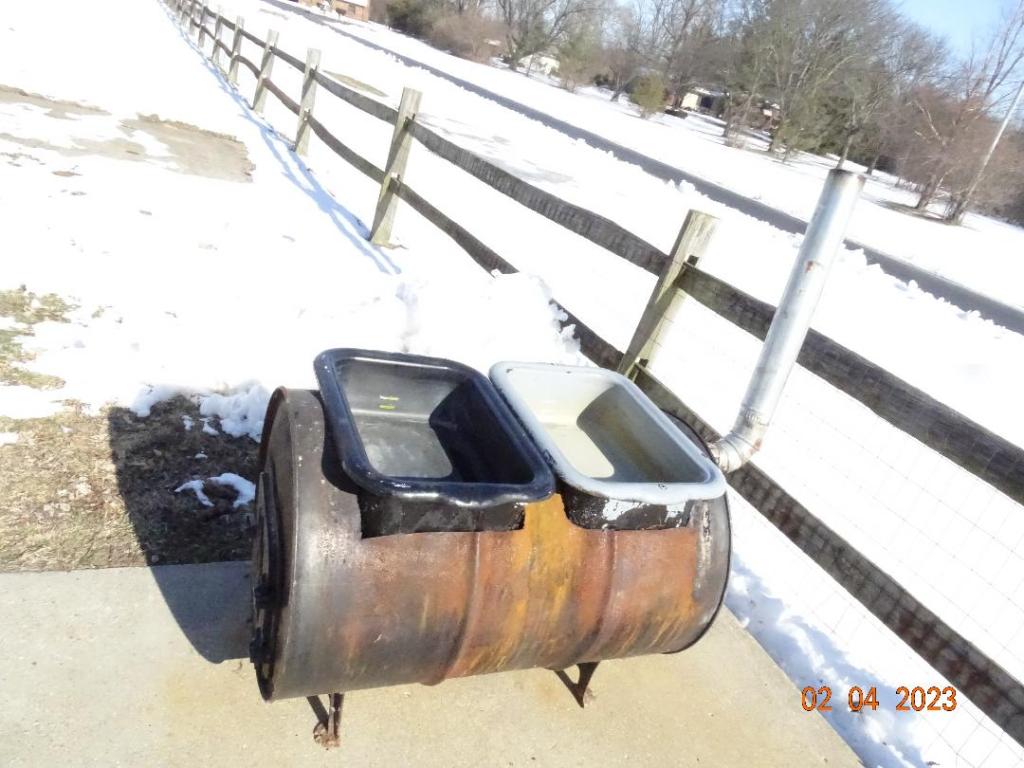
Remember his DIY sap boiler? It’s hot & the pots are full of boiling sap!! Looks like he started without me……
I don’t see Scott so I head out on my own–let’s see– weaving in and out of the trees—is this the way ?
With no snow or tracks- I’m looking into the woods, hoping to spot the pots —There’s one!!!!!
Jackpot!!! LOOK- There’s more over here; but they’re empty.
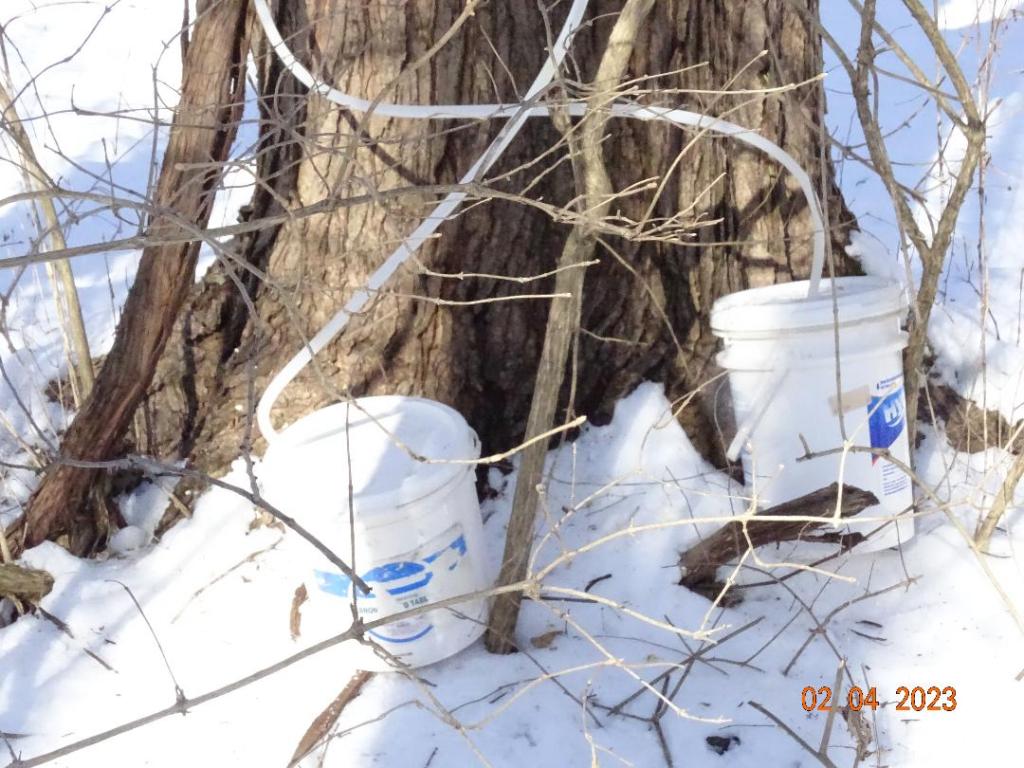
Things look familiar? ( Hint: 5 gal. buckets) The lack of snow has changed the landscape but allows us to lookmore closely at the details of tree tapping……Let’s review
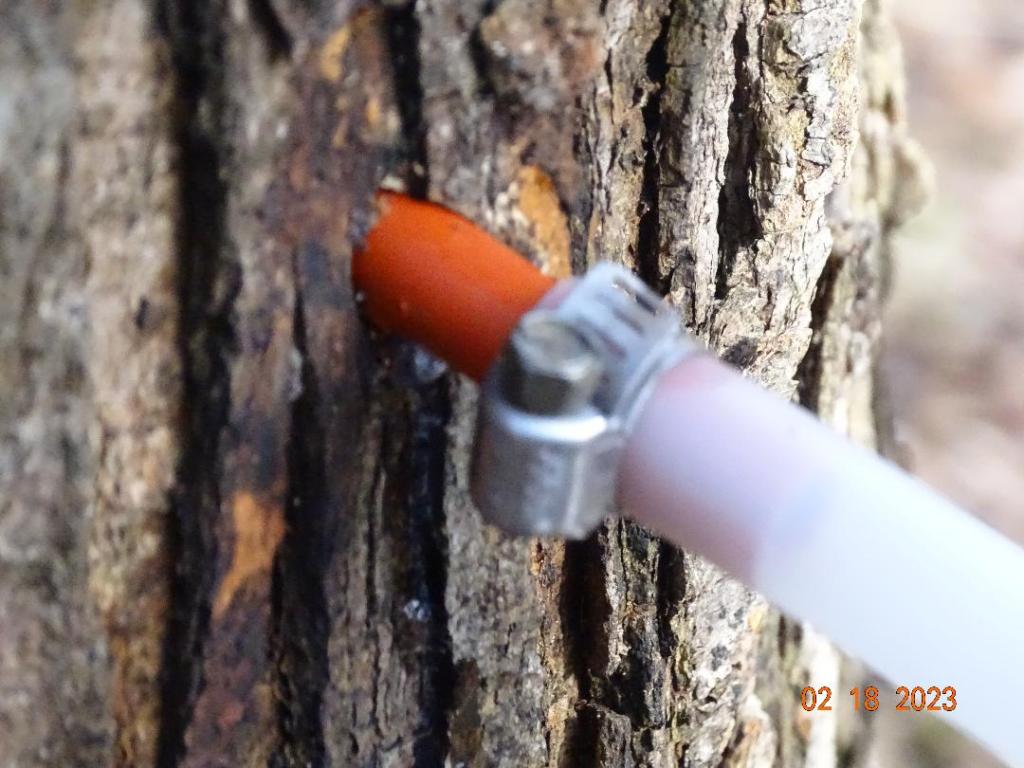
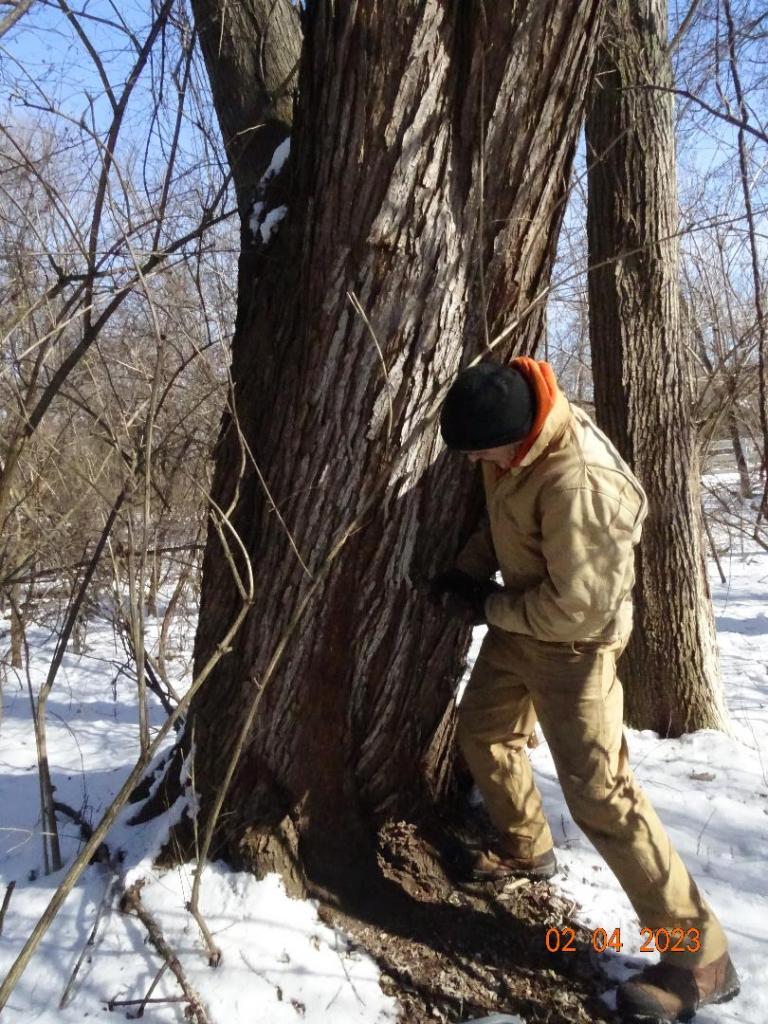
Above: you can clearly see the tap is in the main line of the tree “foot.” The tree structures stand out today- note size?? Not how tall but how big around-the diameter.
What’s this?? Scott has added a clamp to this tap—-I continue to walk around, enjoying the quiet noise of the woods. OH look- opportunity knocks & I won’t miss the chance again. Yup- letting the drop fall on my fingers I get a good taste of SAP WATER ?!#%
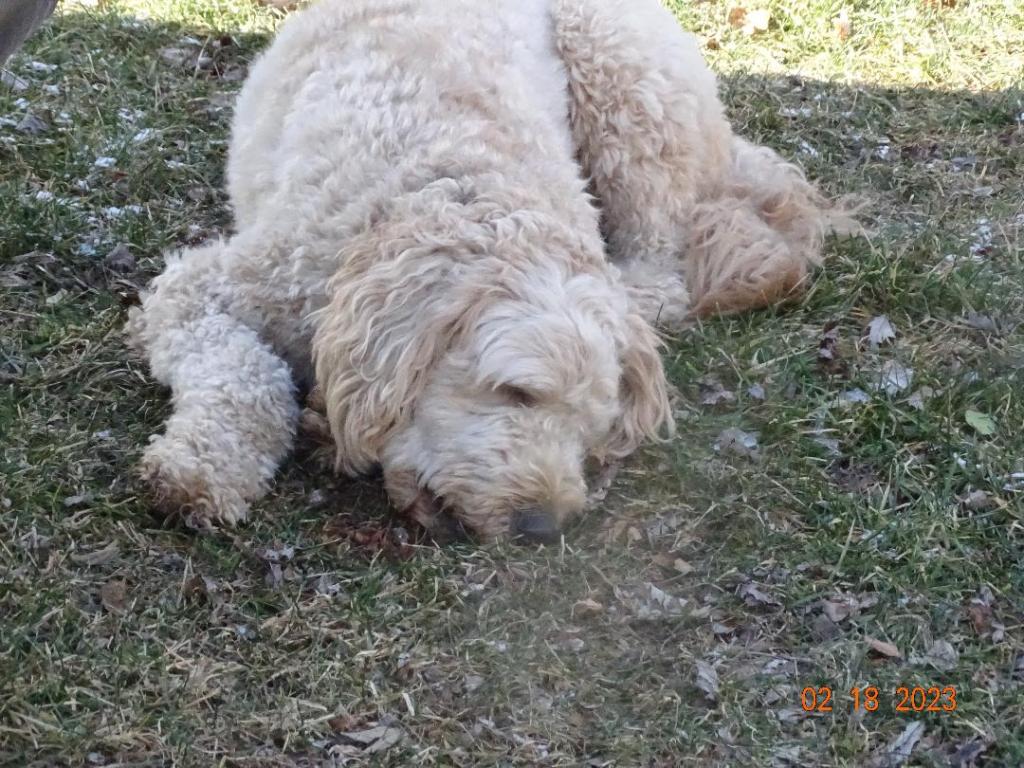
Suddenly– I hear a noise – Shhh— Bigfoot??
Wrong!!…….I have company; with Scott in tow, the kids have come to retrieve me….
Since the sap buckets are empty; we trek back to the boiler empty handed. Scott checks the pots daily & had collected the full pots before my arrival; additionally, colder daytime temps has slowed the sap flow………..
Back at the boiler & with enough sap, he begins the process to boil the water out of the sap. It takes 30-40 gallons
of boiled down sap to get 1 gallon of syrup.
There are many techniques but Scott uses wood- building a fire to heat the sap in the boilers. Each batch different due
to the many variables: amount of water in the sap while maintaining an even, consistent heat.
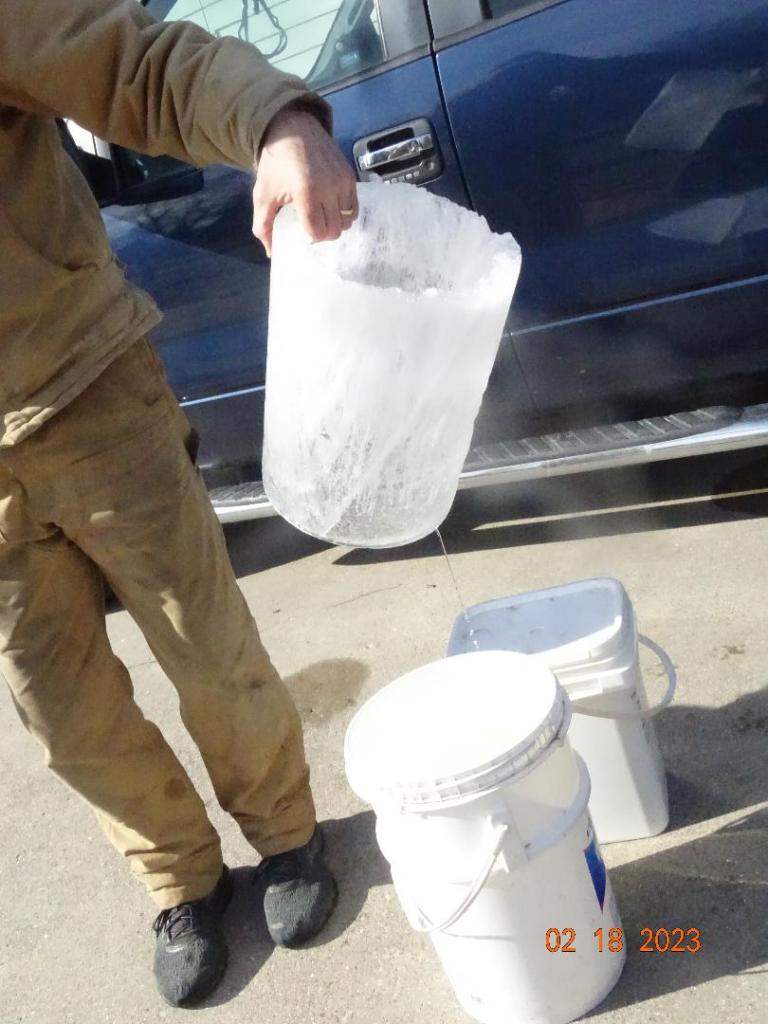
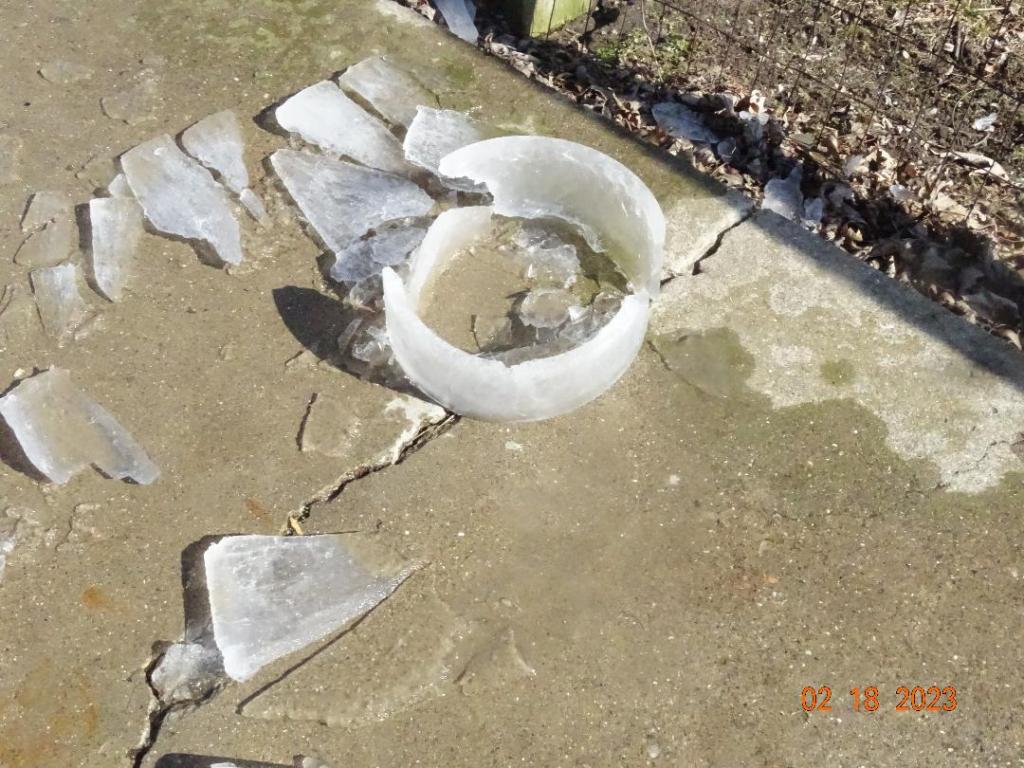
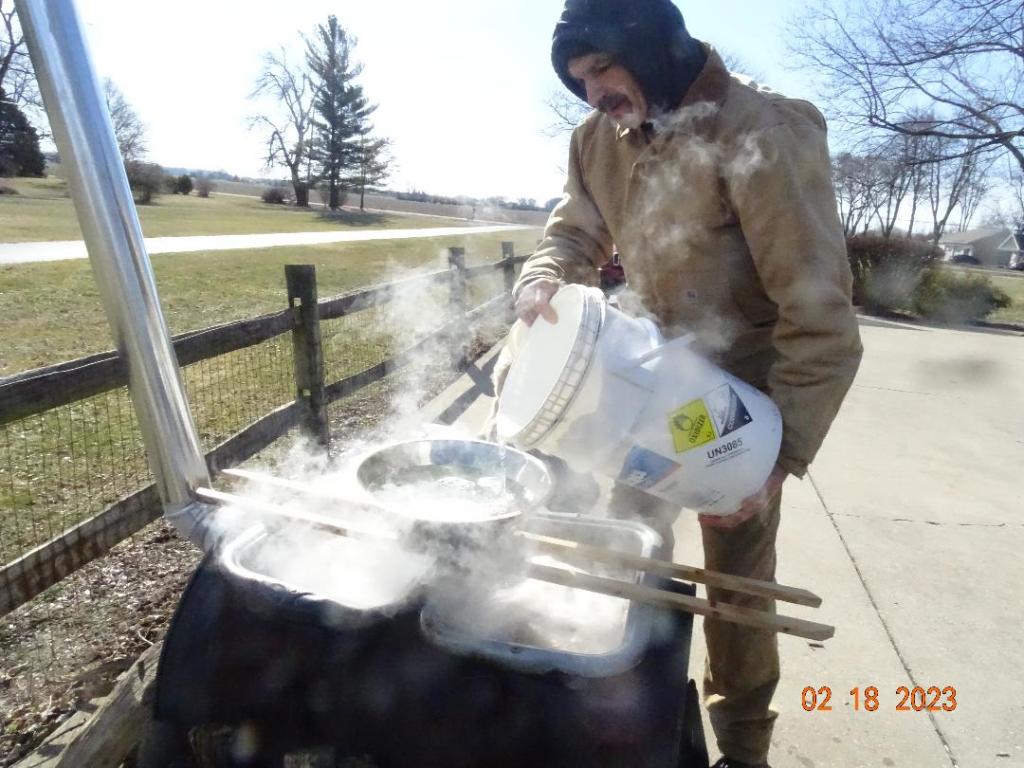
With such a high water content; sitting in the buckets, out in the woods, the water in the sap will freeze.
Remember, we need below freeze temps @ nite? Since we are cooking today, Scott had set the jugs
in the sun & after a bit was able to pull the ice shells out; reducing some of the water …..less cooking time.
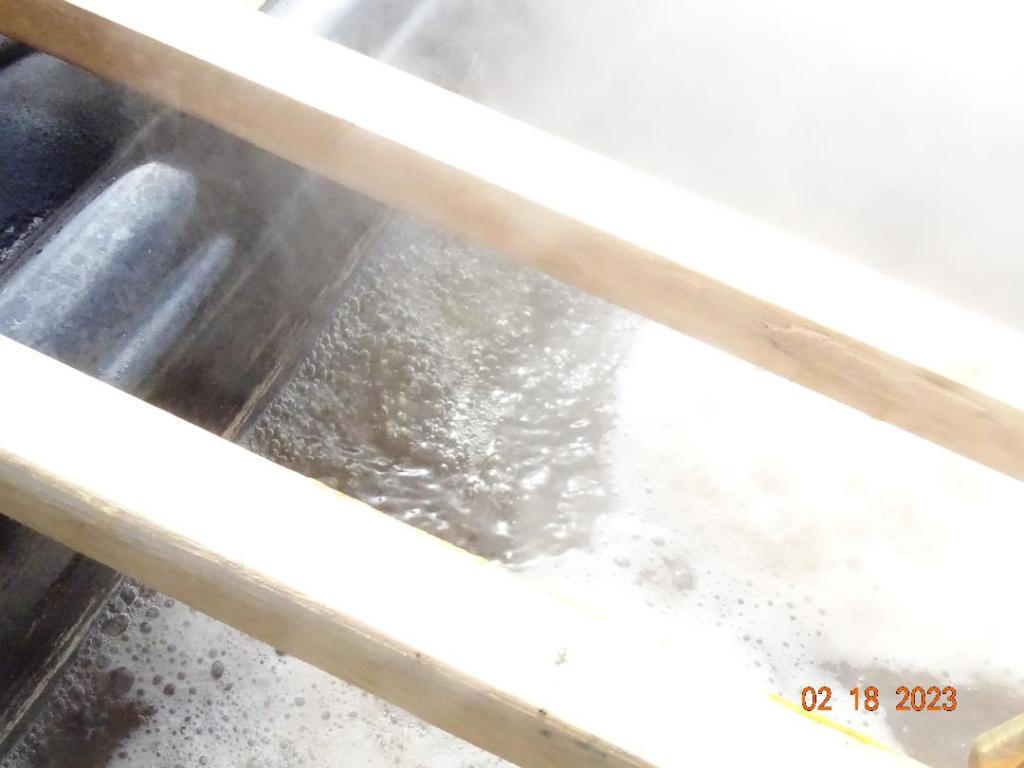
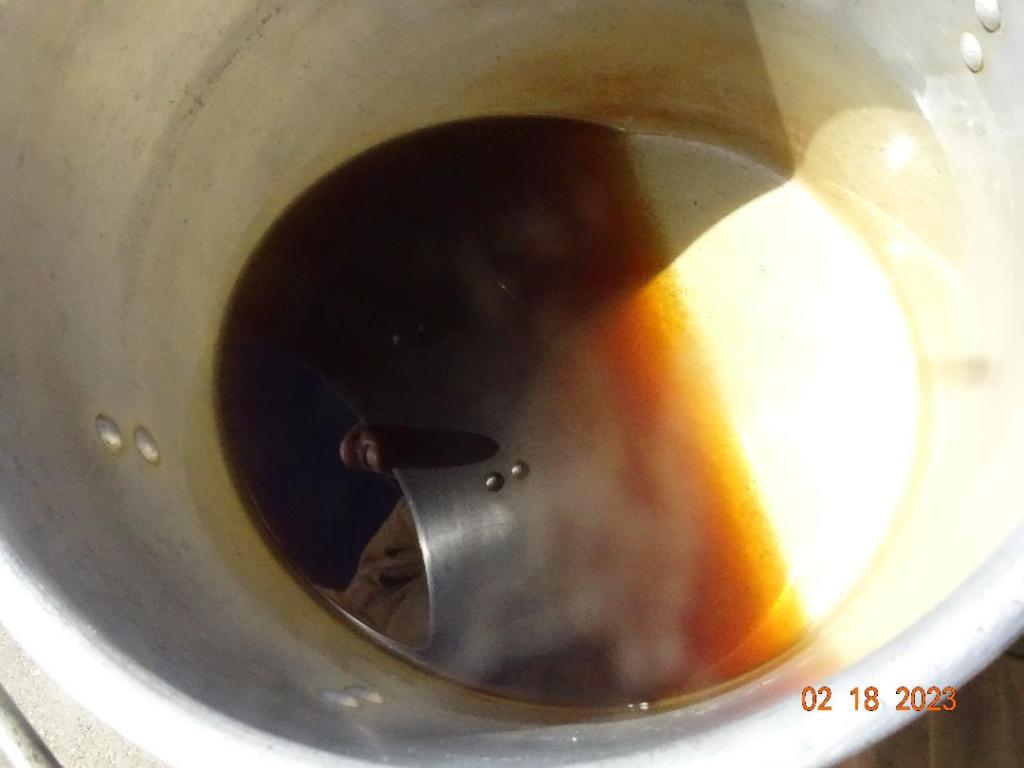
With the fire hot, we get down to business. Scott’s goal is to keep adding sap to the boil pots.
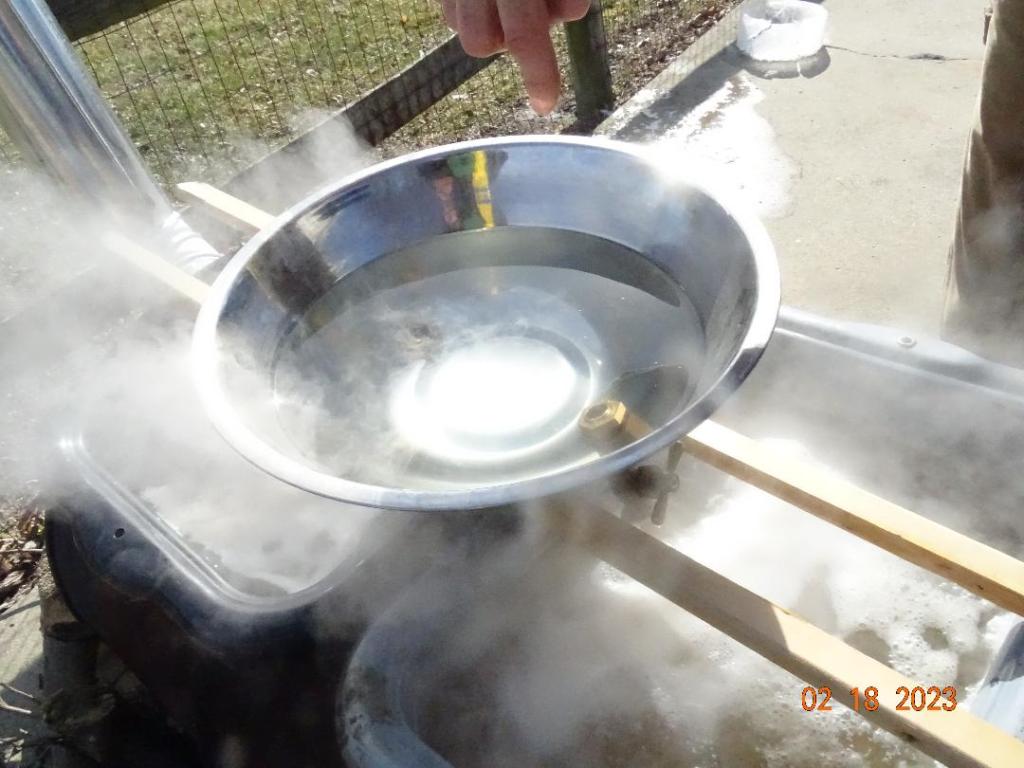
On the other hand- I will must try to take photos despite all the steam….. see how low level is in the top pot??
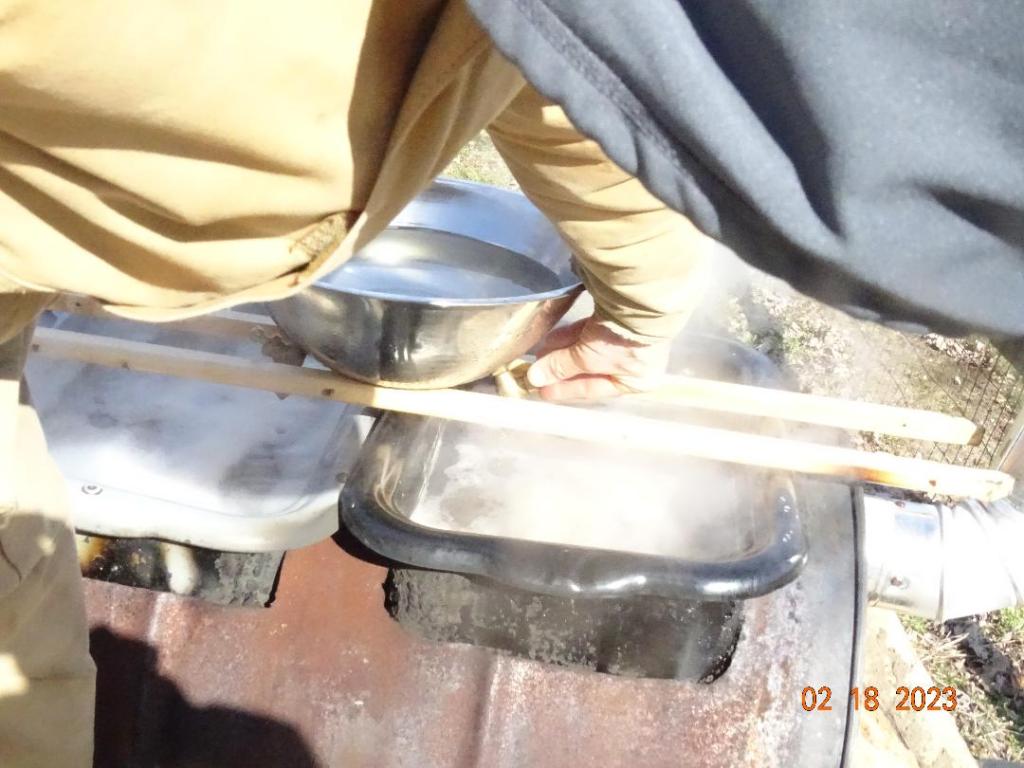
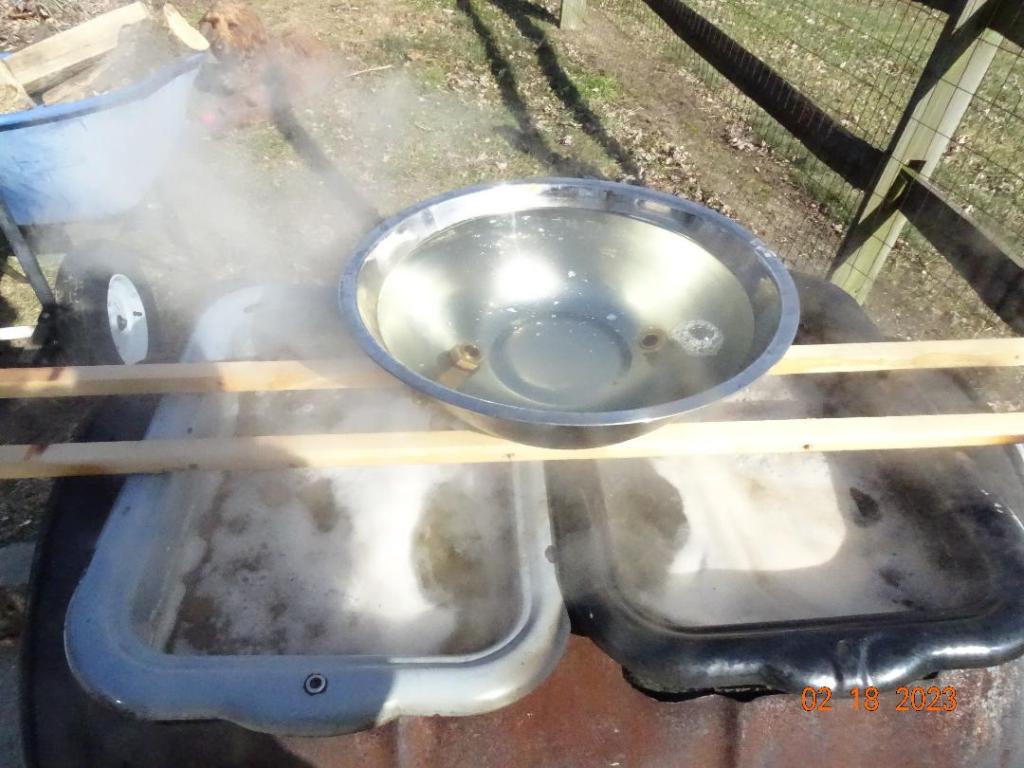
Time to fill ‘er up.!!!! Scott fills the top bowl with sap-
Adjusting the drip on each side, to maintain a steady flow into the boil pots. How clever is this set up???
Sitting the top bowl in the steam helps warm theincoming sap so as not to slow the boil- can you see the condensation on the outside of bowl??
we wait, we watch ( I would rather be fetching);
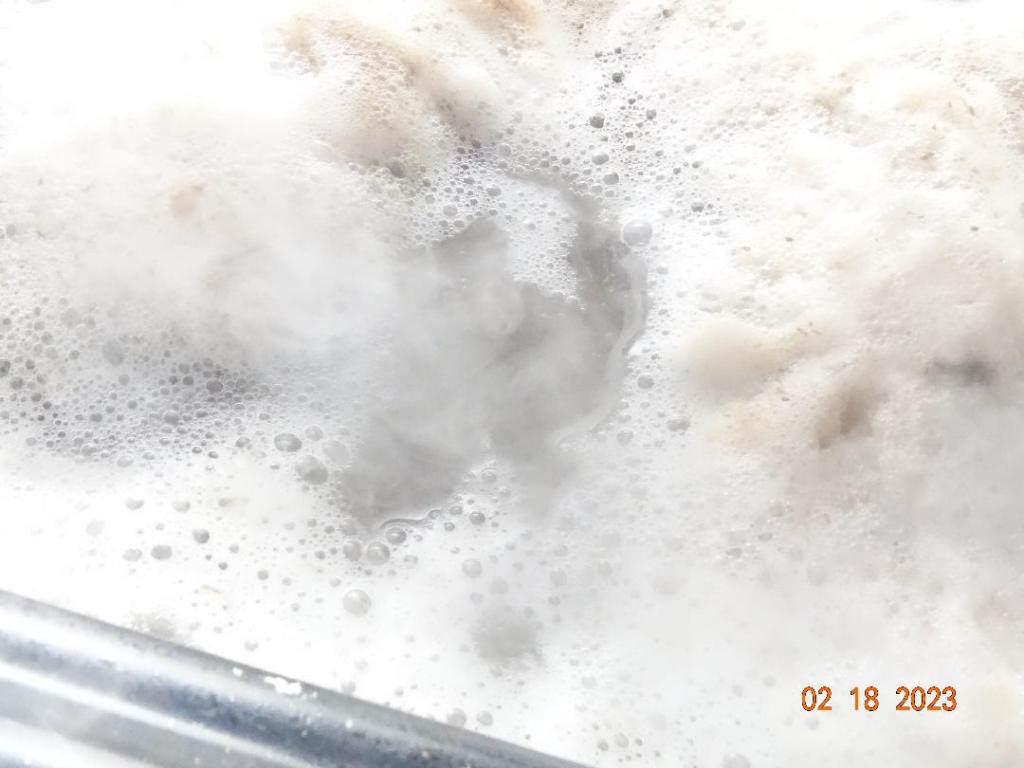
adding more sap as needed; achieving a good rolling boil.
still waiting & watching (well some of us) -Scott speaks to the many variables in both collecting & processing.
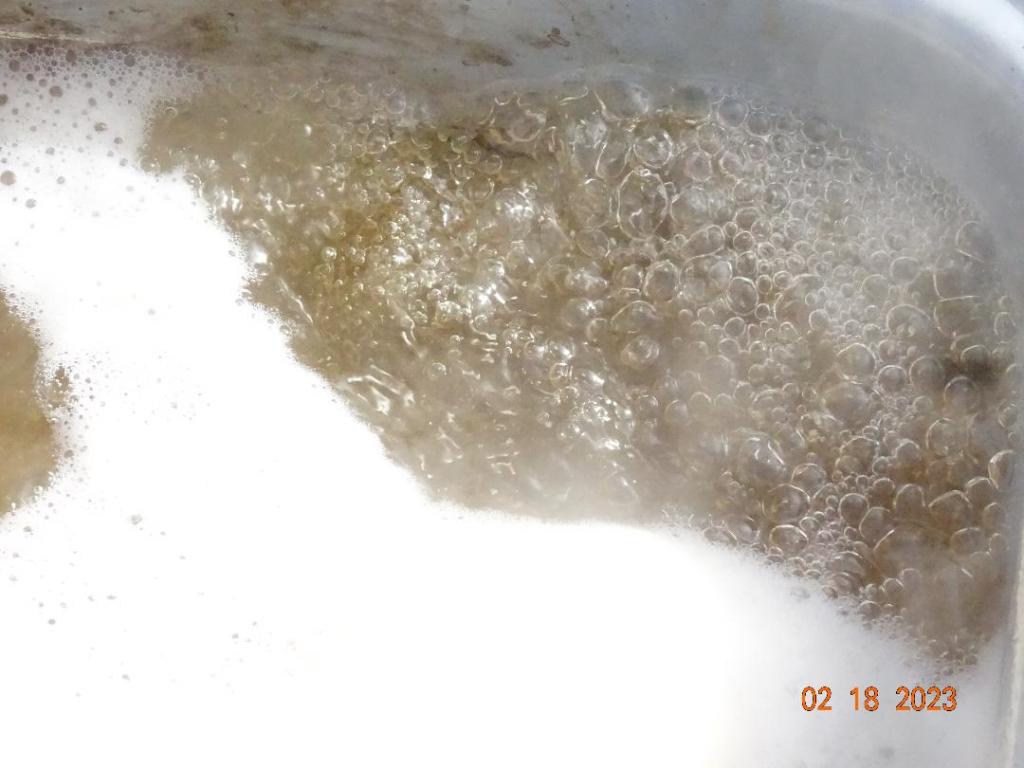
Like making candy; too hot, too long & a batch gone wrong- crystalizing. do you see the color changing??
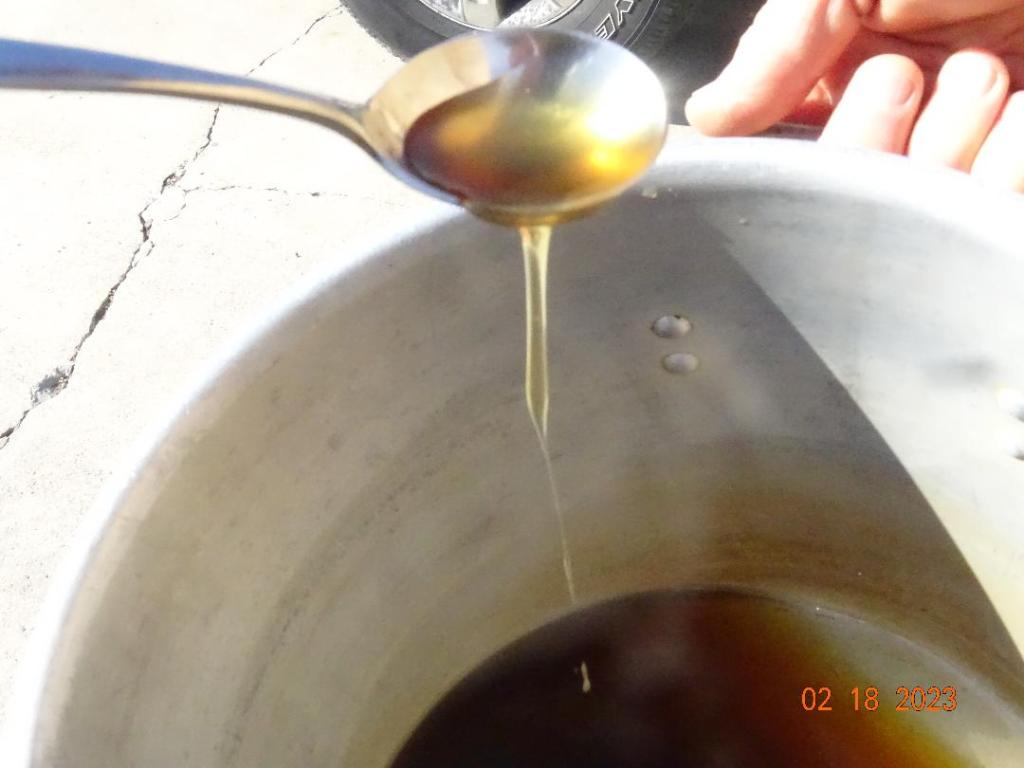
Below: the finished product from an earlier batch- note the rich amber color; the consistency has
changed too & yes I got to sample. As I let the “syrup” slowly move over my taste buds, I compare the flavor & sweetness to store bought- it tastes like _______
OH my, look at the time!! There is much more to boil but I have to go. Did I forget to tell you how it tasted???
I think I will wait & let you answer that for yourself. Scott has offered to let me have some to share at our meeting-
–until then-envision a stack of warm pancakes, syrup running over the sides & pooling in the plate…….YUM
Happy Belated Groundhog Day!!! YEAH-its time to think Spring & that means –MAPLE SYRUP TIME !!! I would love to share with you, the opportunity I had to watch a friend tap his Maple trees—
Come along as Scott takes us on this unique adventure.
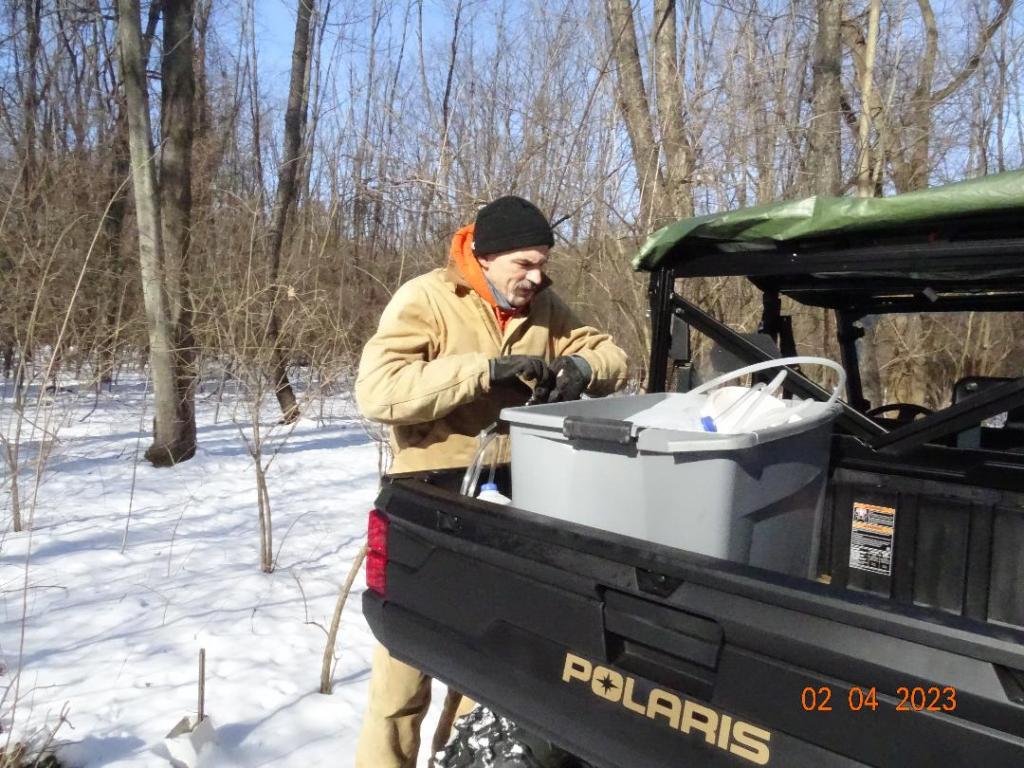
The clock said noon- the sun bright & a gentle breeze stroked our faces-the thermometer read a mere 27 degrees F; the snow squeaking beneath our boots as he loaded the supplies.
Jugs, tubing, spikes, a hammer & most important a drill.
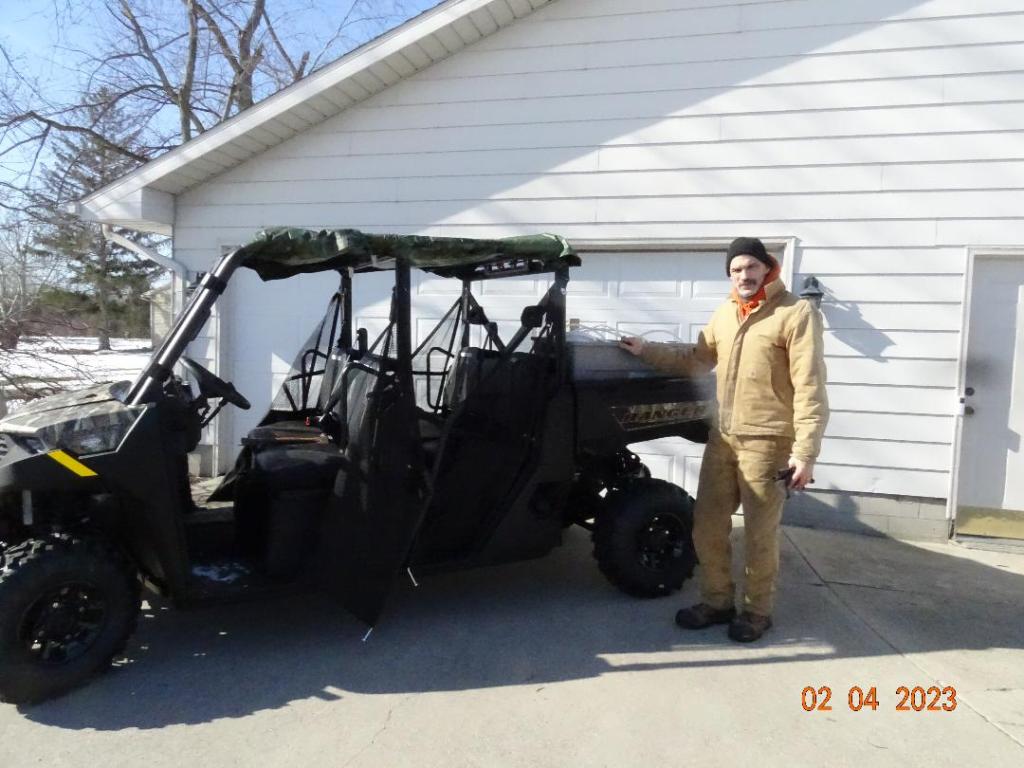
Jump in—using his new gator will make the trip to the woods much easier—HANG ON!!
Searching for the right tree – Scott shares some notable facts: ** for the sap to run, daytime temperatures must be above freezing & below freezing at night. Last night’s temp was -4F. The forecast calling for day temps to begin to rise; today 28 F
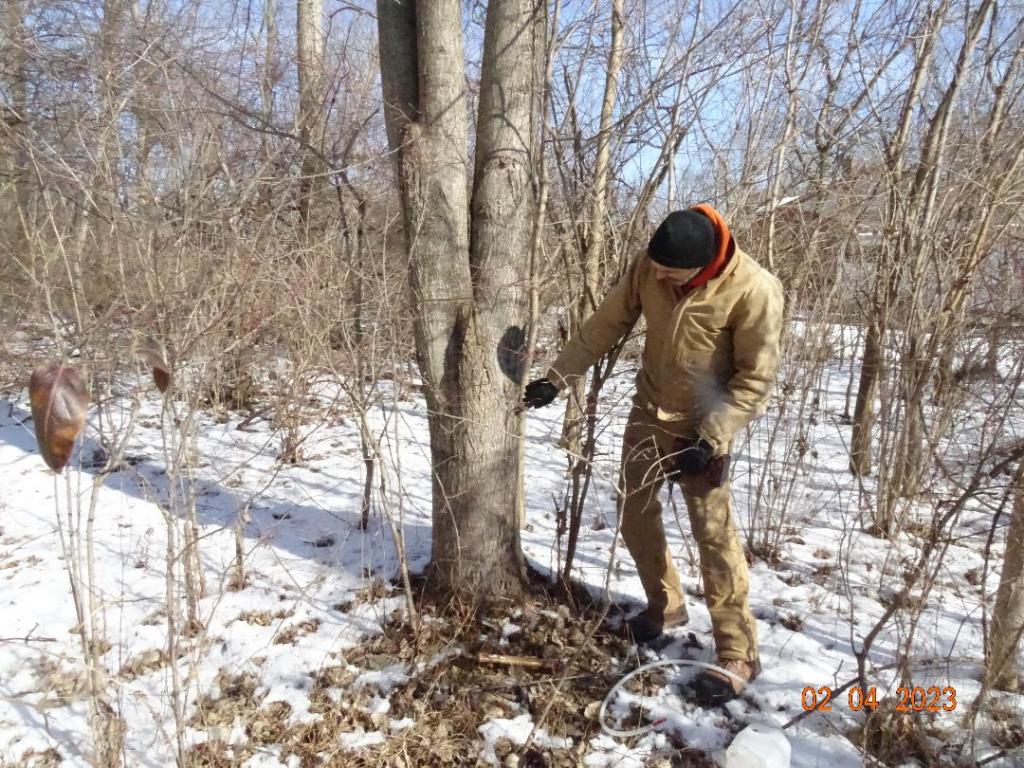
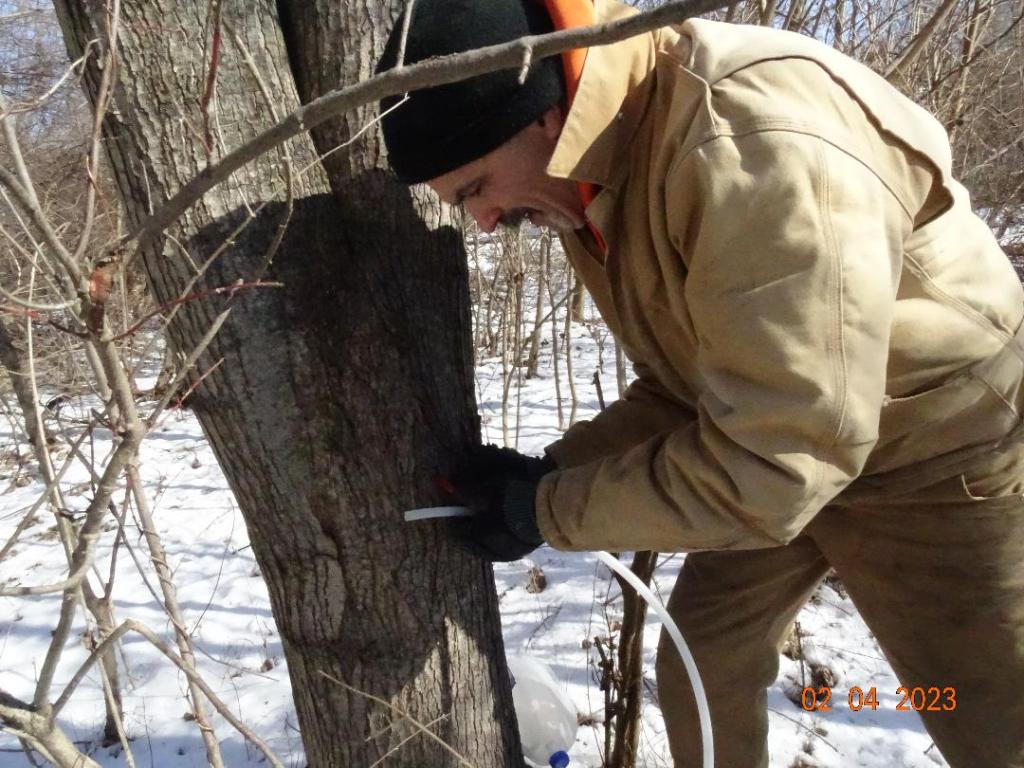
Stopping, we arrive at the first tree- He gets his supplies and walks over to the tree. Scott uses *sugar maple trees: silver maple and even box elder trees are acceptable.
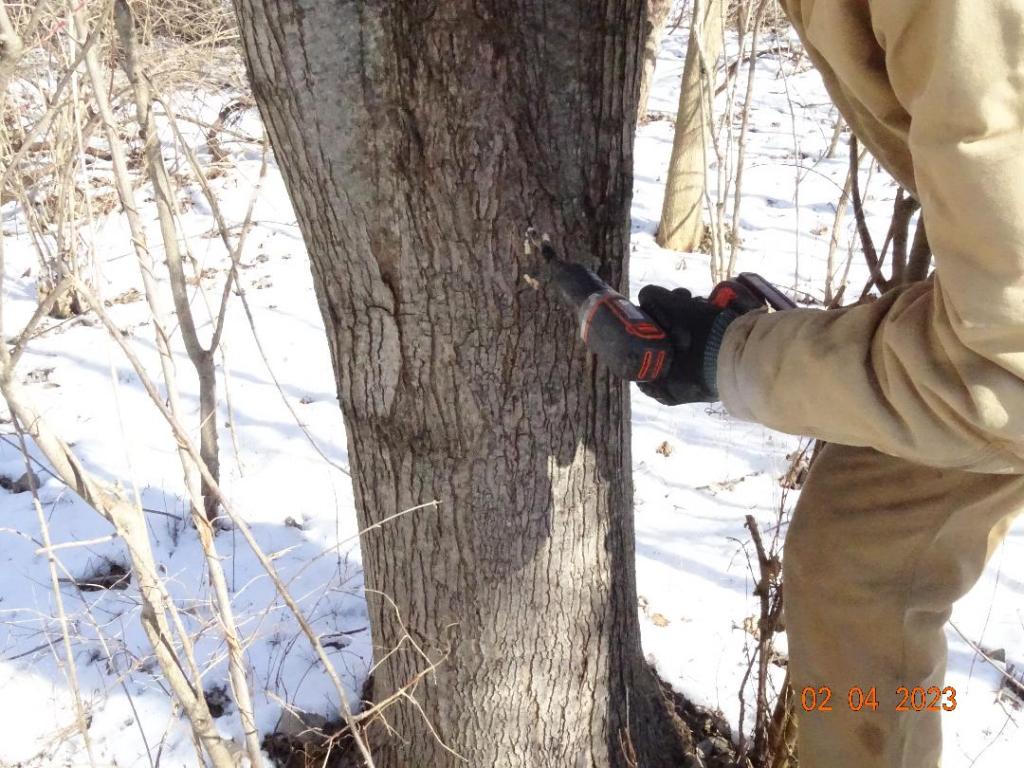
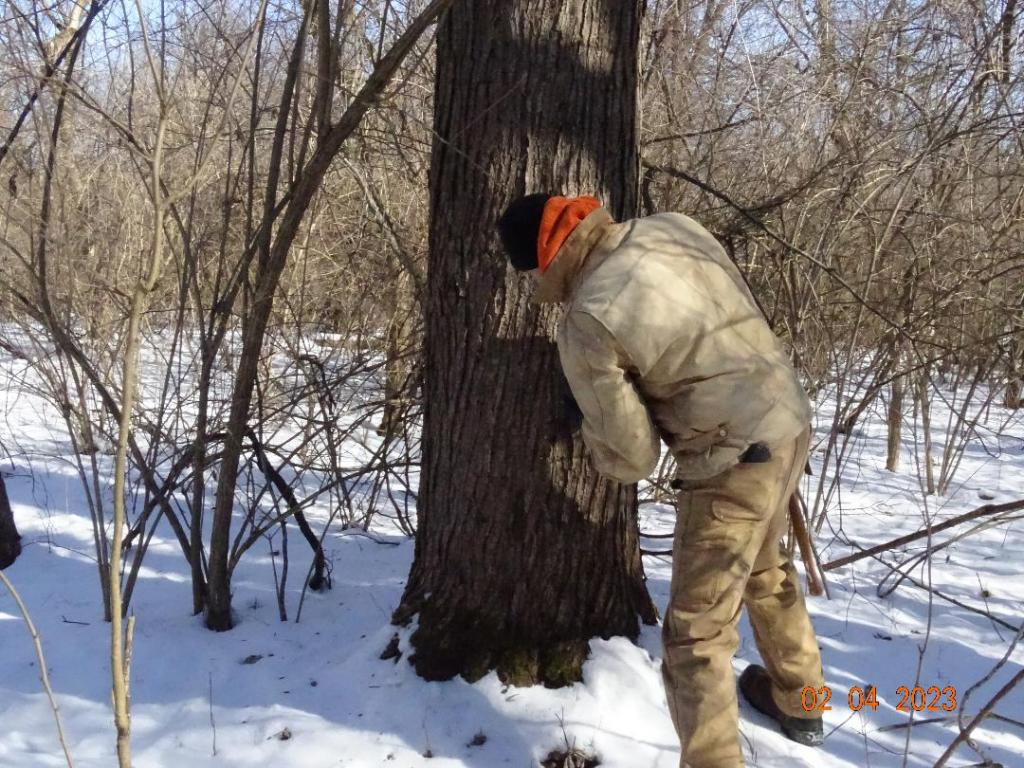
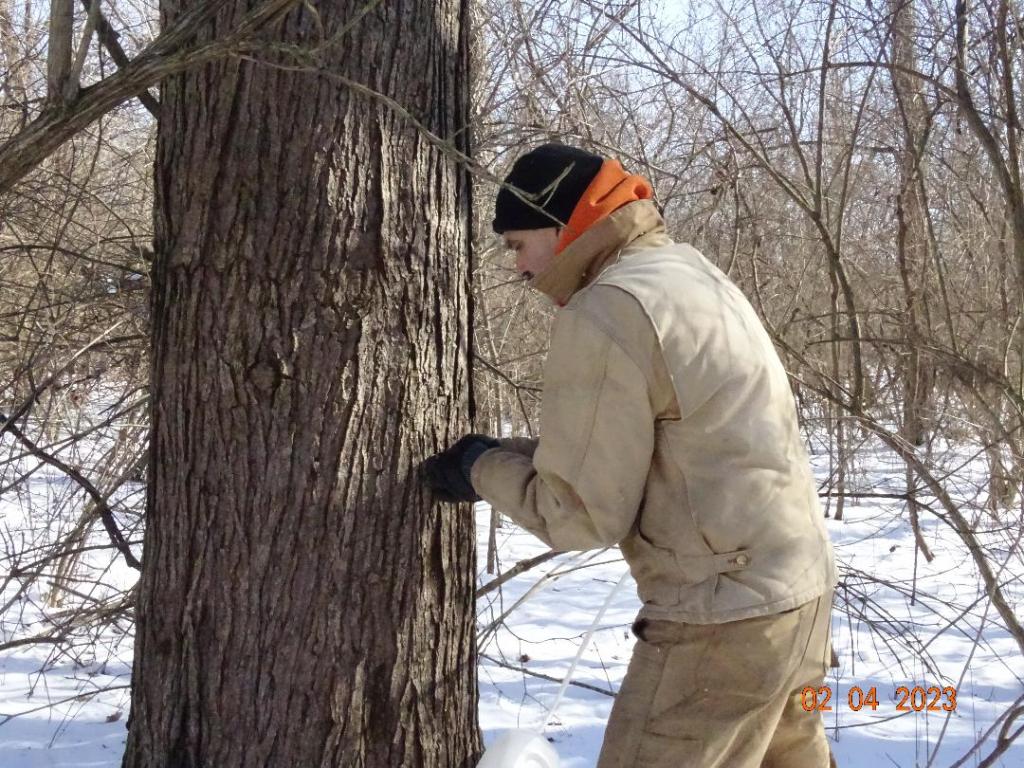
Scott inspects the trunk for a spot to drill; he has
tapped this tree before and shows me the scar–the process doesn’t harm the tree- healing over once the tap is removed……..
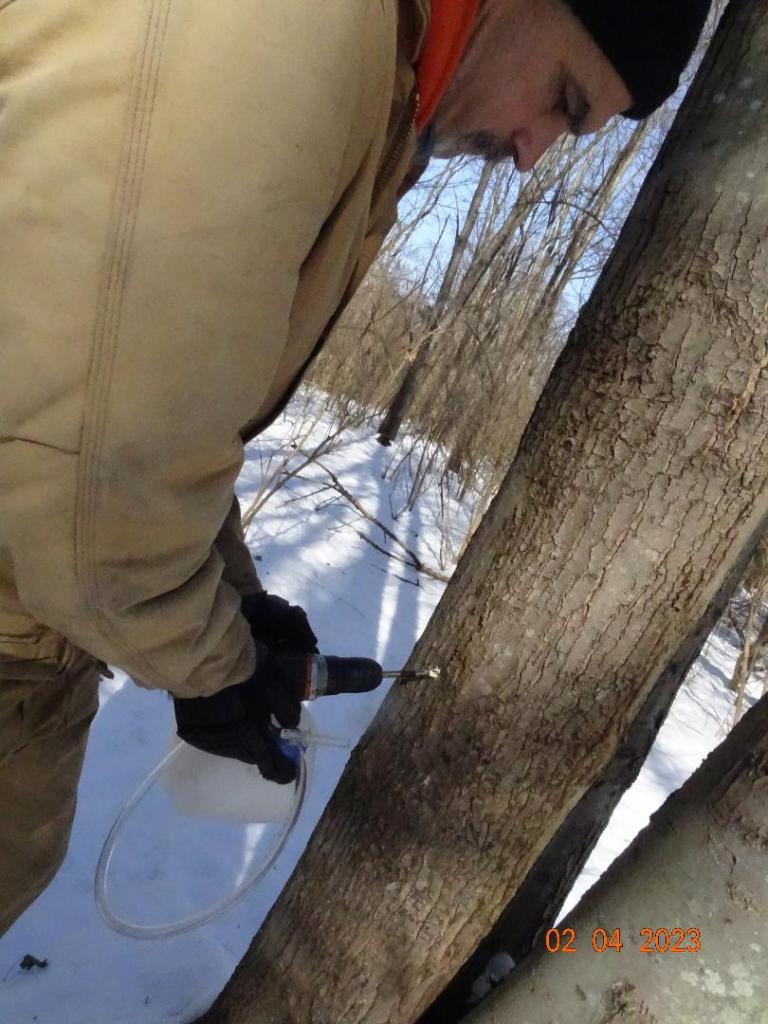
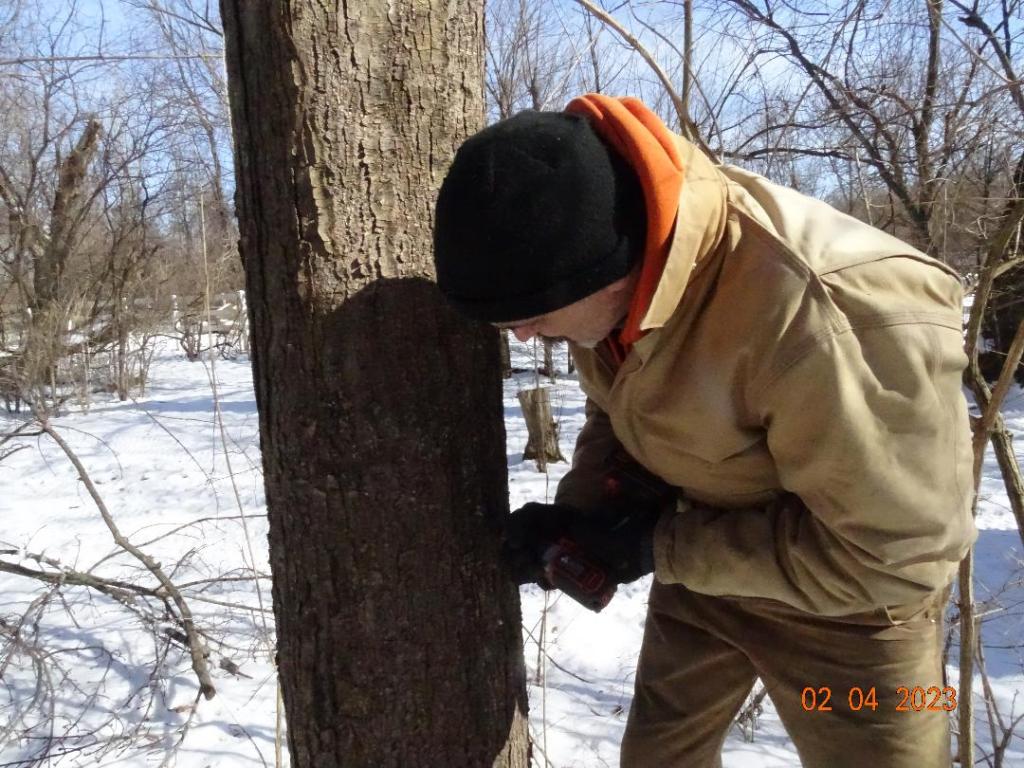
He studies each tree & carefully selects the spot- using a drill & marked bit, he drills a hole into the trunk. Watching this process closely it was Obvious he was looking for something; but what???
With the curiosity of a 2 yr old, I ask–WHY?Is there a reason why he picked that spot.
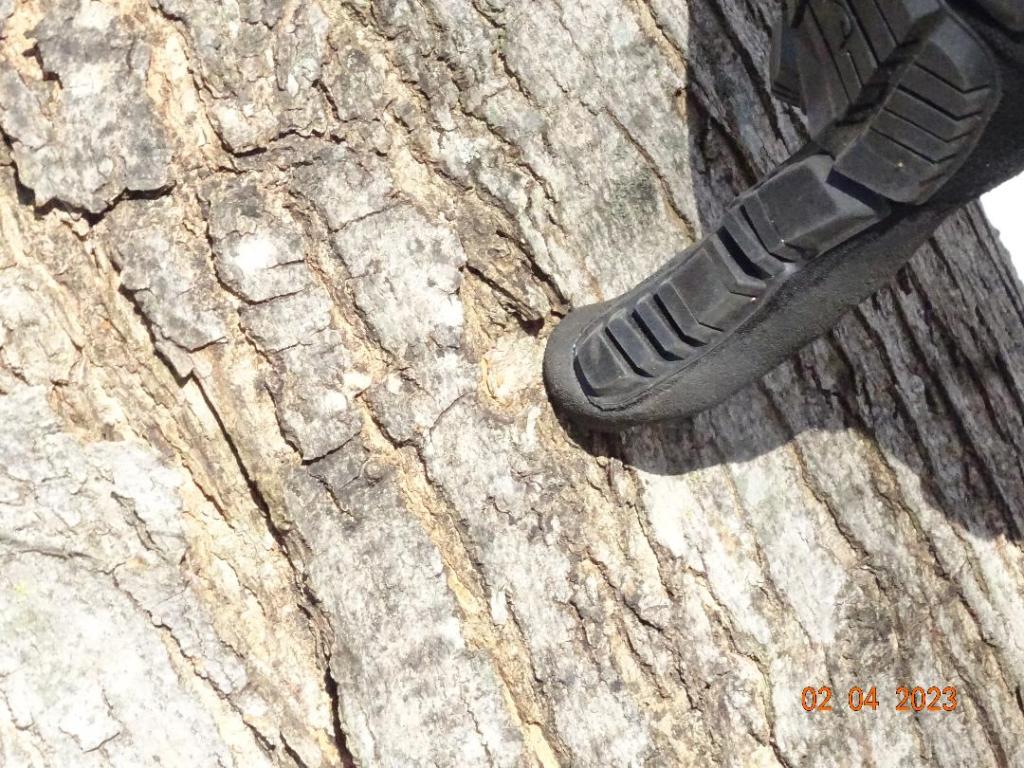
He shared: **follow a line, from where the trunk reaches out & hangs onto the ground; up to a level of comfort,
for best results. (see below)
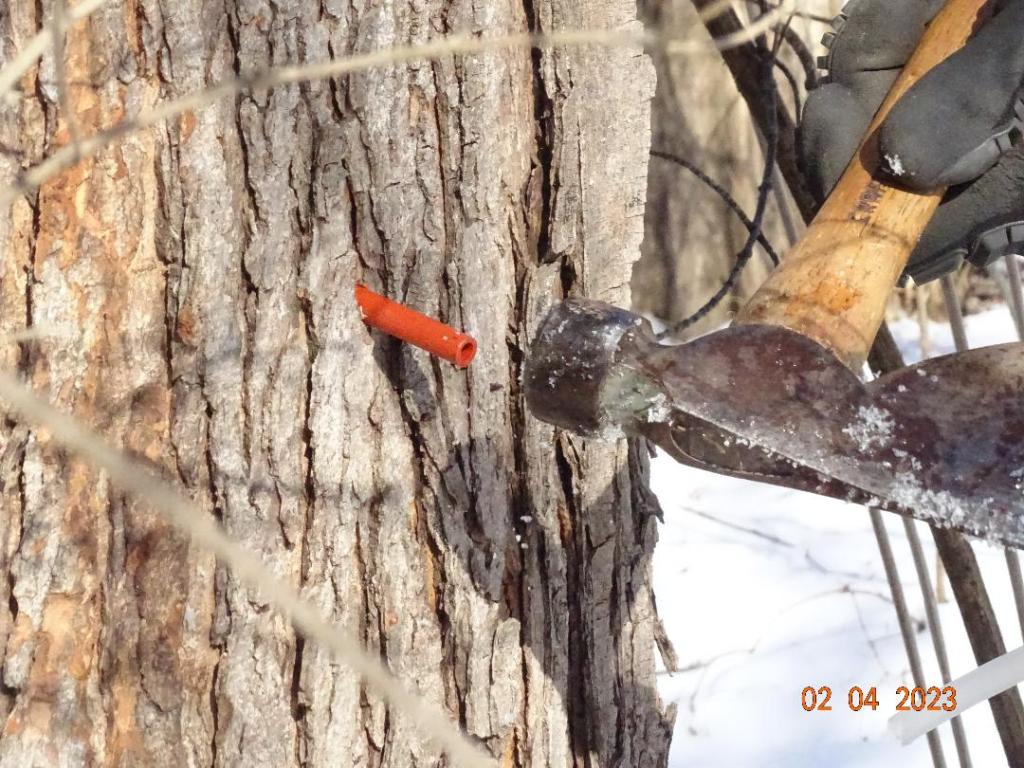
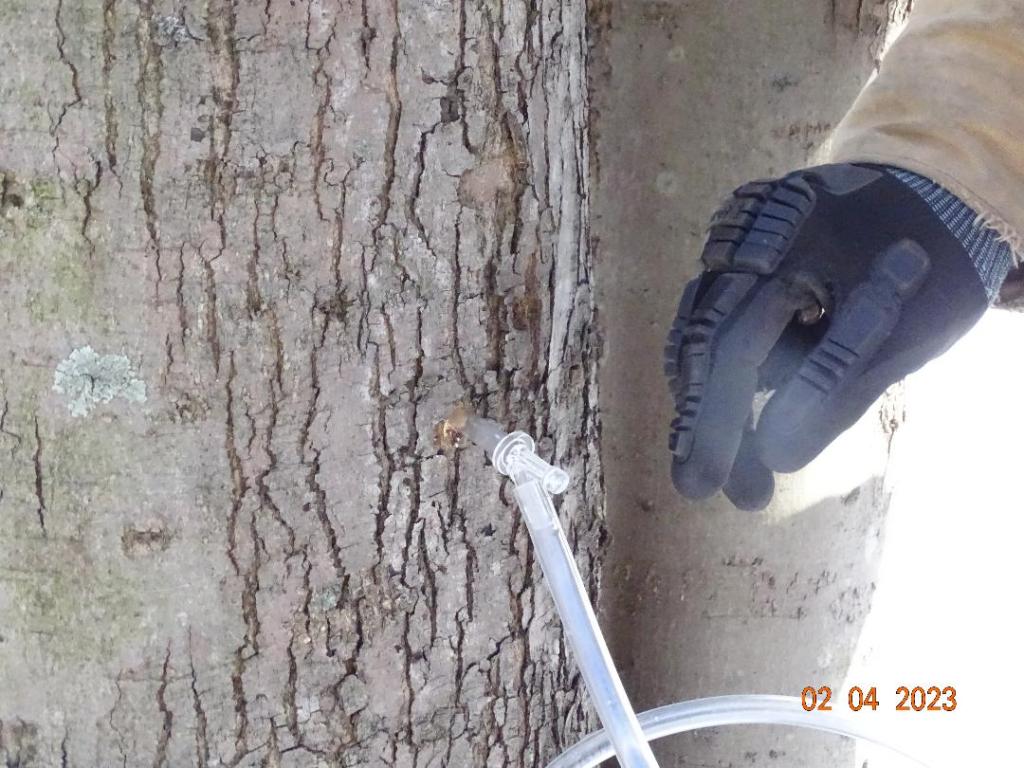
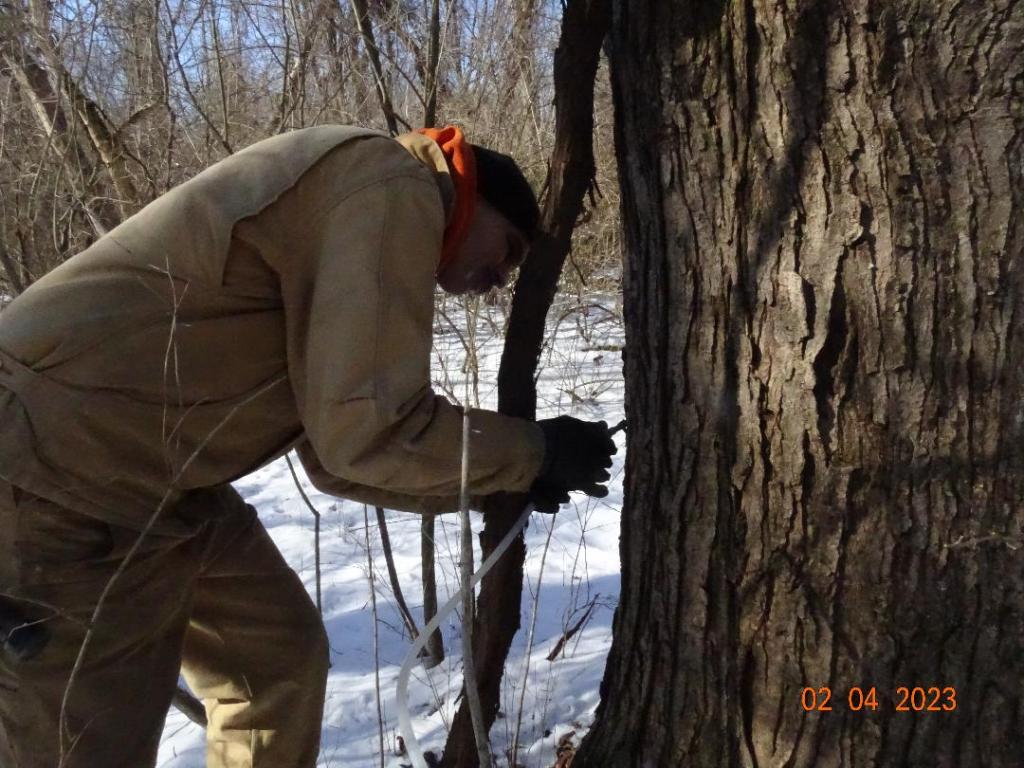
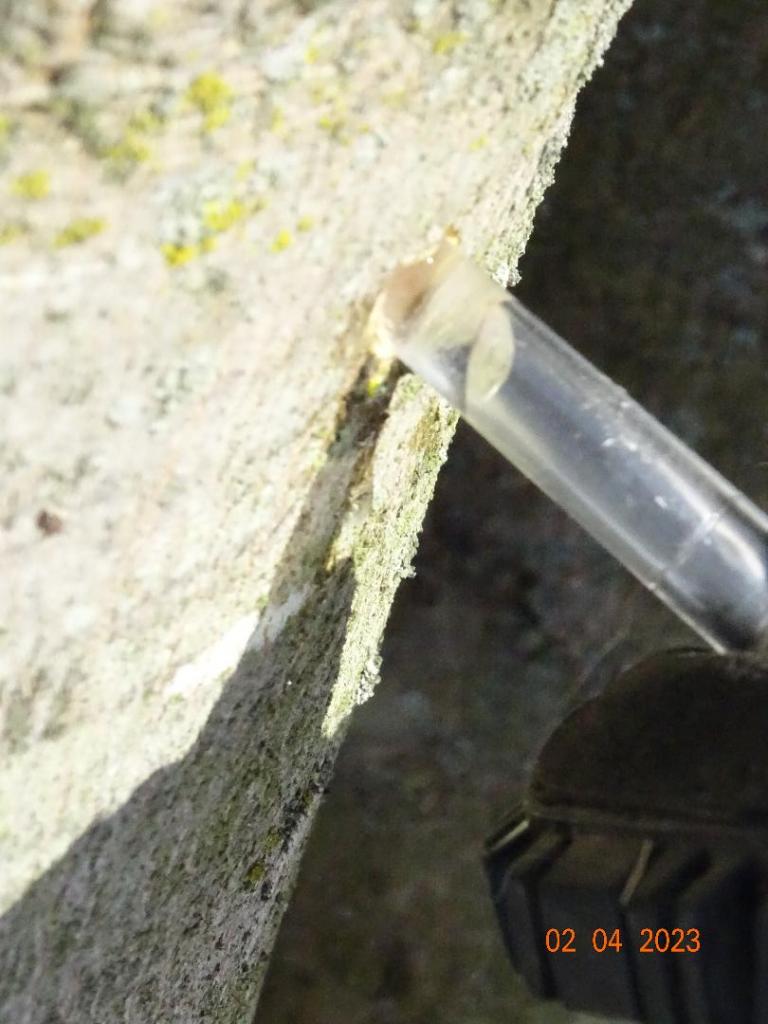
With the hole drilled, he blows off the sawdust and manually pushes the tap into the hole……
using a hammer to firmly tap it into proper position-
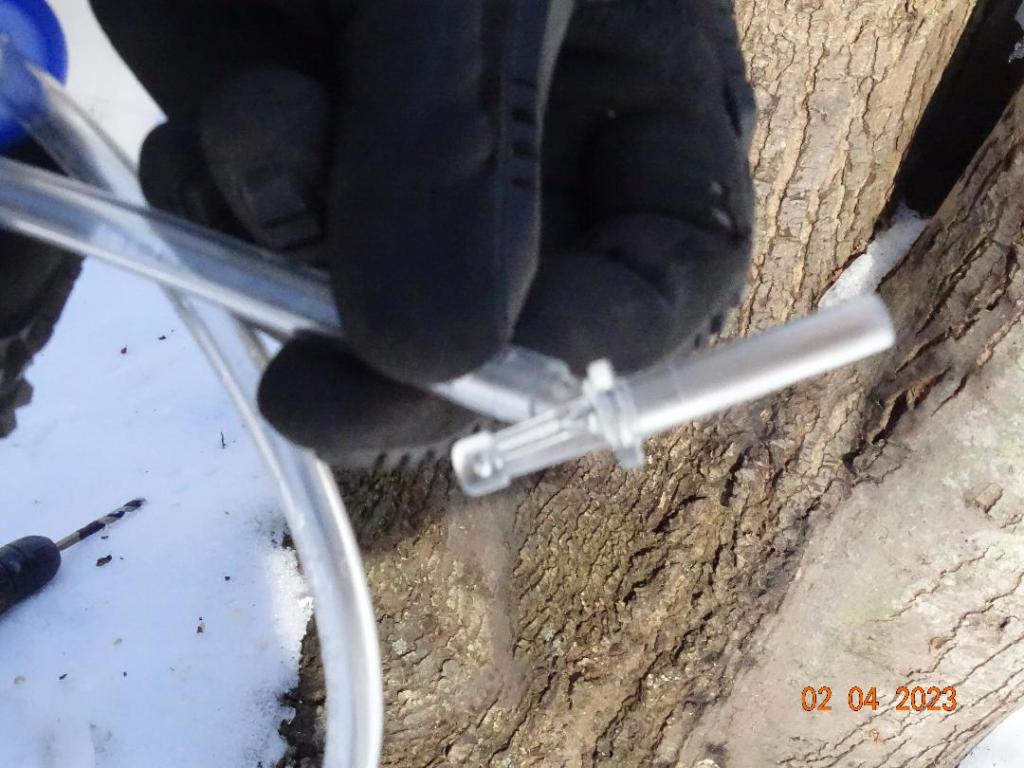
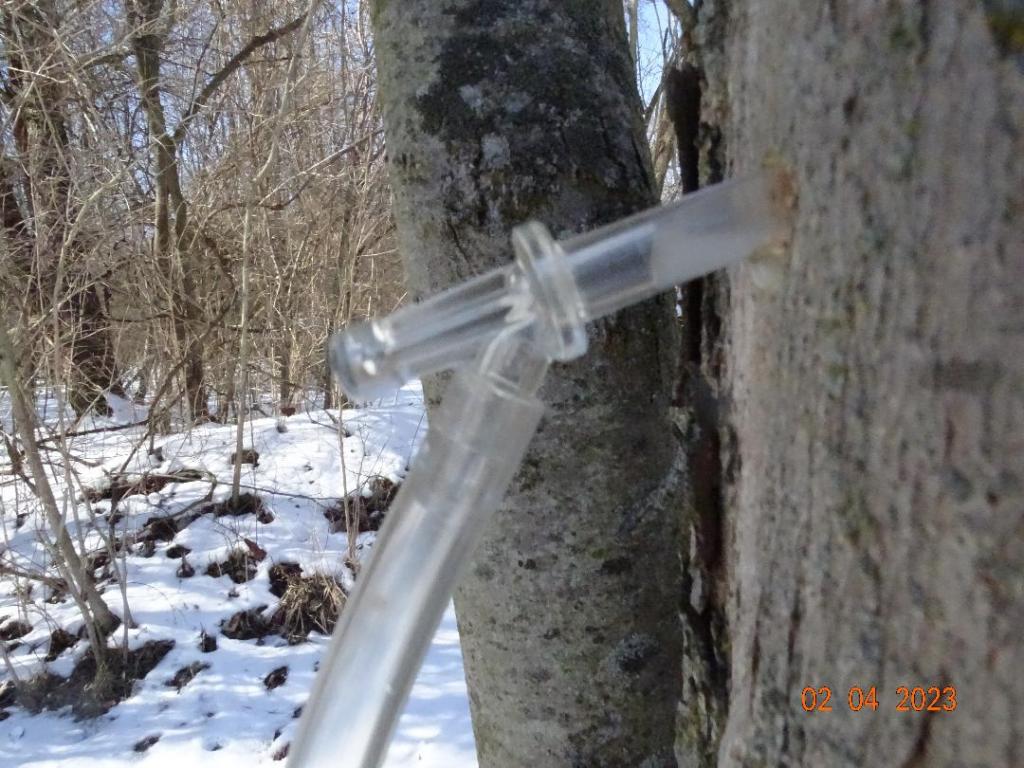
he uses two different types of spikes….the orange one above and a clear style below.
With the spike in place, he attaches a clear tubing; surprised in not seeing any running sap- maybe the
next tree.
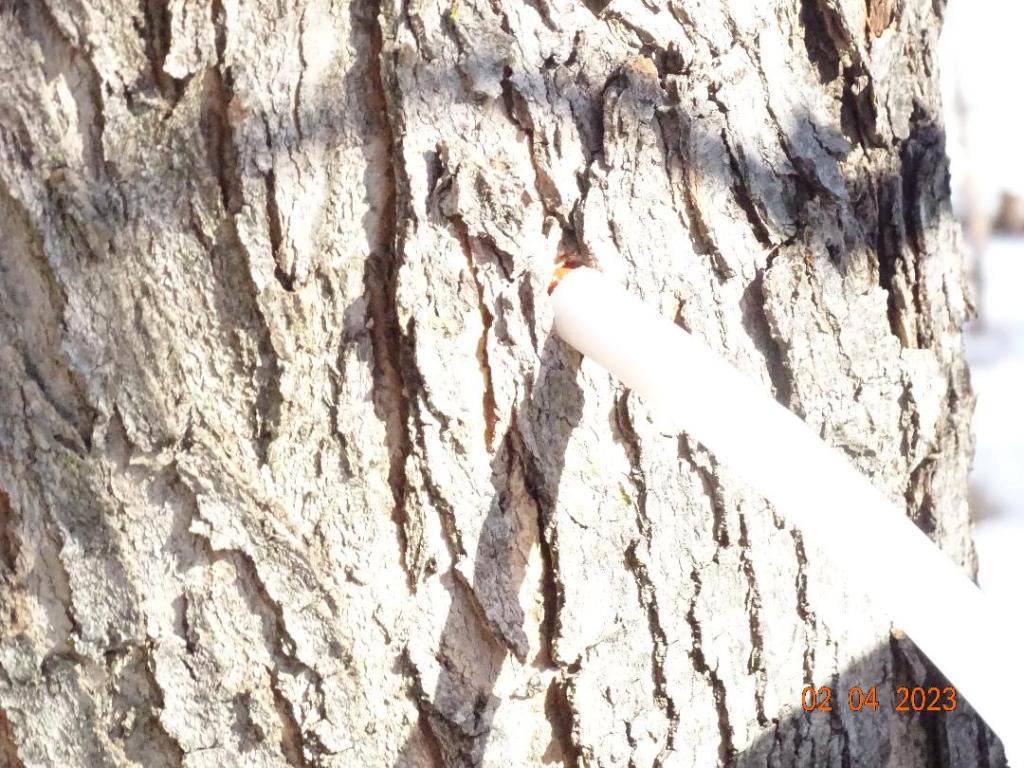
Above the connection with the orange spike-
Below, connection with the clear spike.
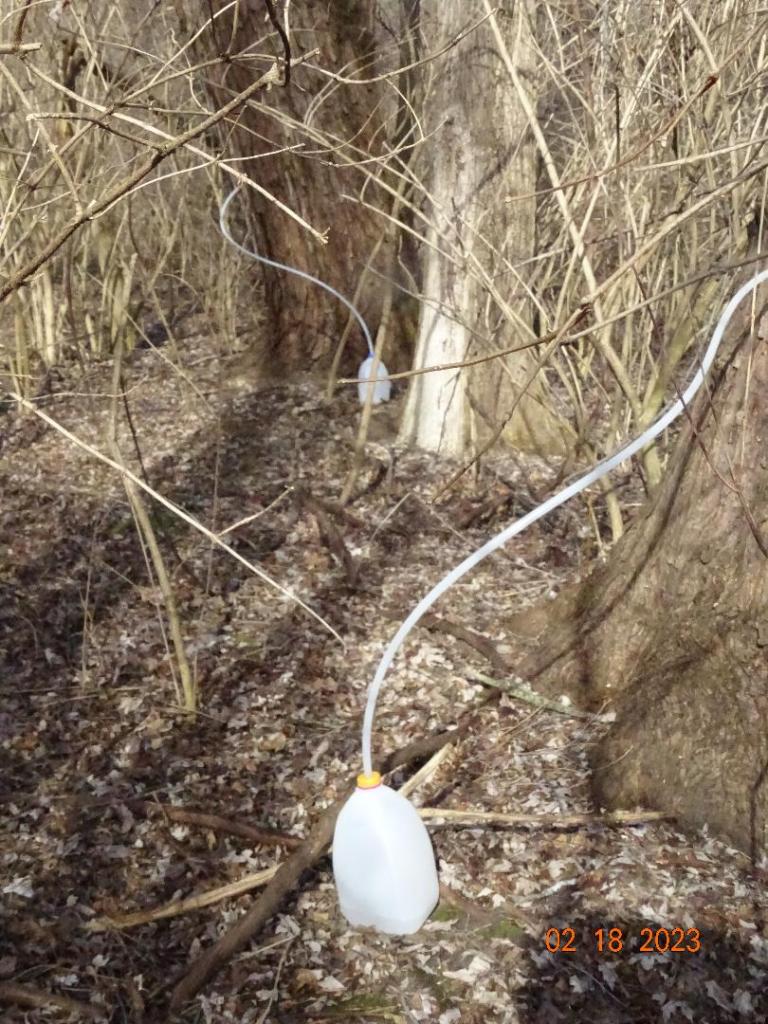
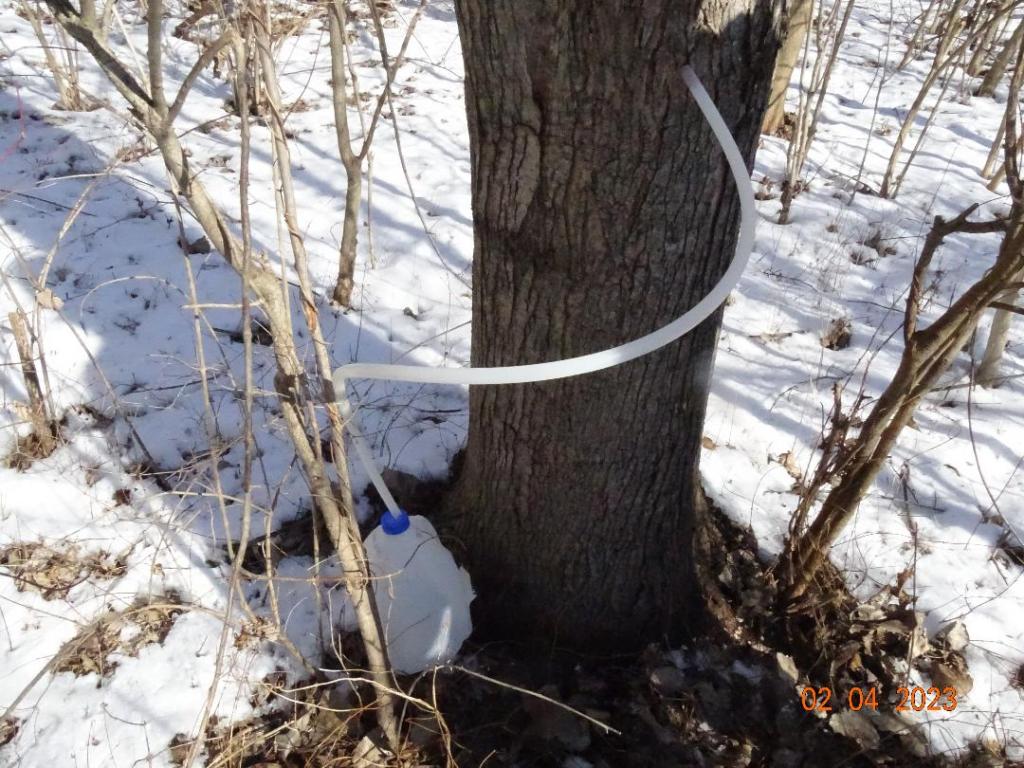
There are several methods used to catch the sap Scott uses a gravity drain method..
attaching milk jugs to the tubing and securing them in place below the level of the tap.
we follow the rough pathways thru the woods-stopping to tap several more trees. We must have done a dozen.
I enjoyed listening to him talk about the woods & its trees.
when I think we are about done-he stops & points to a tree off the path—
unloading the tote, he walks off towards the tree.
This tree the KING of sap—look at the trunk-can you guess where the taps will be placed?
Did I mention-a major point of criteria-the trunk has **a diameter of at least 12 inches? Scott knows that due to its size, this tree is capable of producing an abundance of sap
So Scott will tap this tree in a couple of spots. Paying attention to the root formation at the base.
In fact, so much sap- each tubing will be attached to a 5 gal. bucket vs a milk jug. Now that is some major sap production.
With that done, we drive to the outer edge of the woods to tap the final two trees………
Located along the east pathway, they are exposed to more of the direct light from the sun.
EUREKA!!!!!! As soon as Scott drilled the hole on the first tree, WE had SAP!!!!! I was so excited I neglected to take
the opportunity to use my finger to taste it —
Below- With the spike in place it immediately started to slowly run down the tubing—get that jug hooked up!!!!
People are surprised when they see that the sap is clear and not the color of the syrup which comes from the bottle you use
on your pancakes….anyone else craving pancakes & waffles??
In fact, the sap has a high water content.
The process of getting “syrup” involves boiling off the water in the sap before it becomes syrup. Scott uses this boiler
to do that.. ( more info on this- in Part 2.)
Today Scott sent this photo: so I am adding to the post……see the level of sap in the jug?? All this in just 3 days of tapping—- it won’t be long now.
Did you enjoy our adventure? I learned a lot and wasso impressed with the process that I never once was bothered by the cold. Scott has invited me back to watch him collect the sap and to watch the processused to make syrup….I hope you will join me & MAYBEI can get a bottle so we can taste–I hear it is very sweet!!!!
THANK YOU SCOTT!!!!
the soul should always stand ajar, ready to welcome the
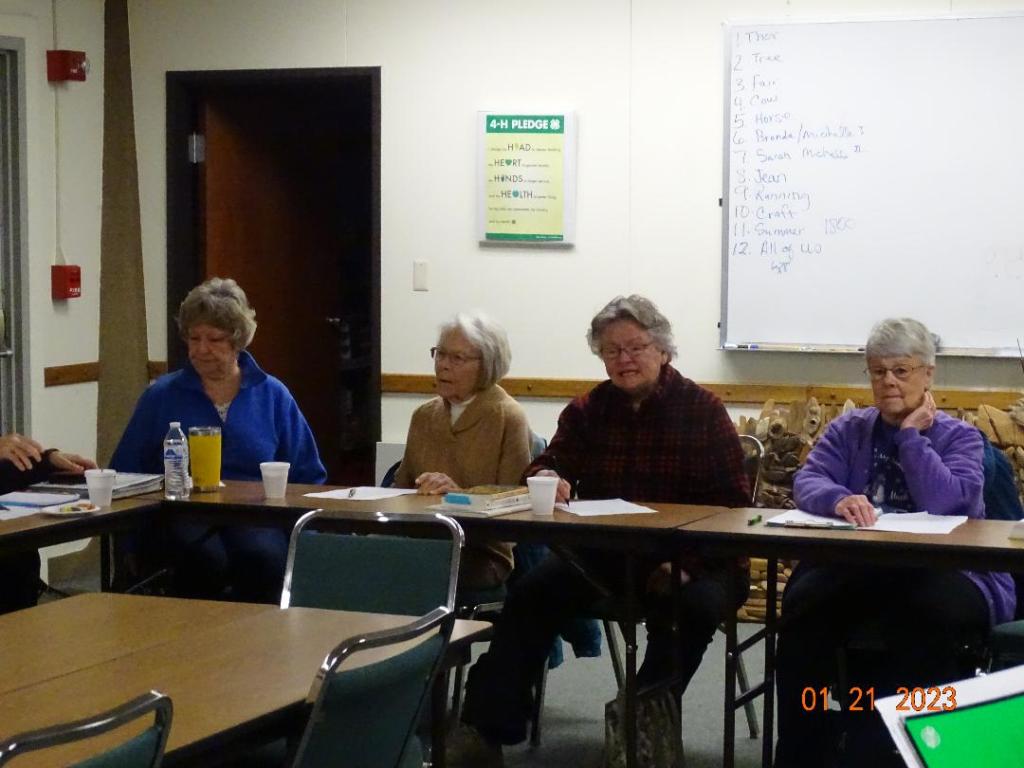
Welcome back!!! President Marie opened the meeting and Jennie spoke to issues we need to address: officers, tours
and speakers.
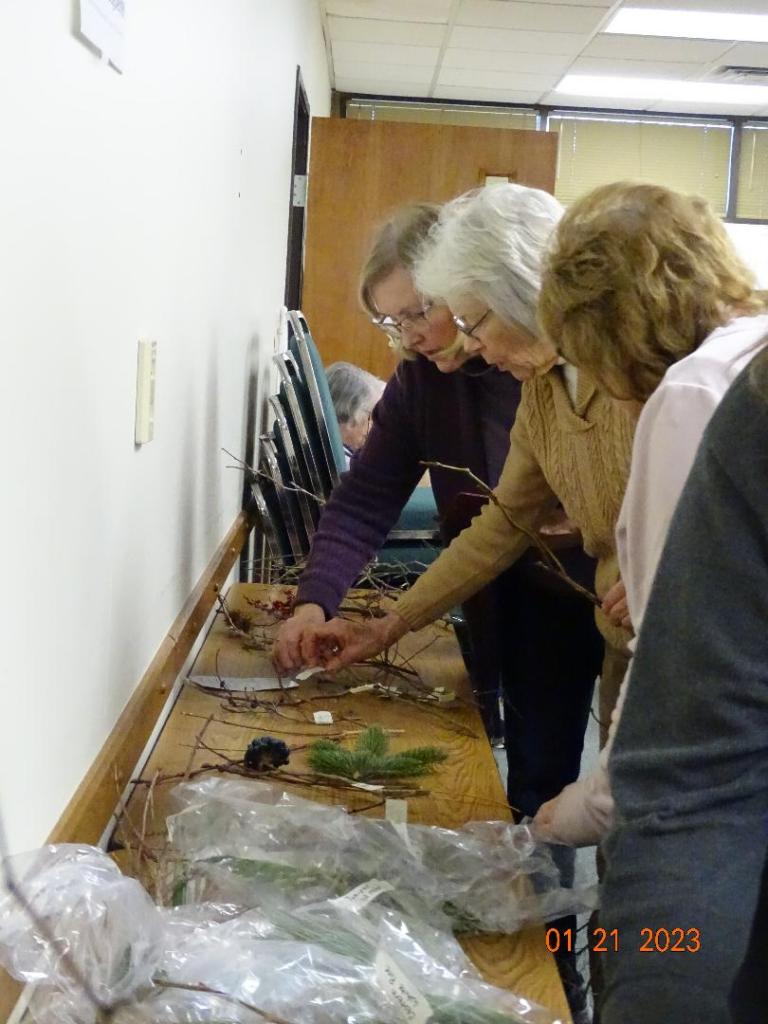
The educational portion of our meeting was learning to identify trees & shrubs during the winter months.
ABOVE: Jennie shows one of the many reference books she finds most helpful.
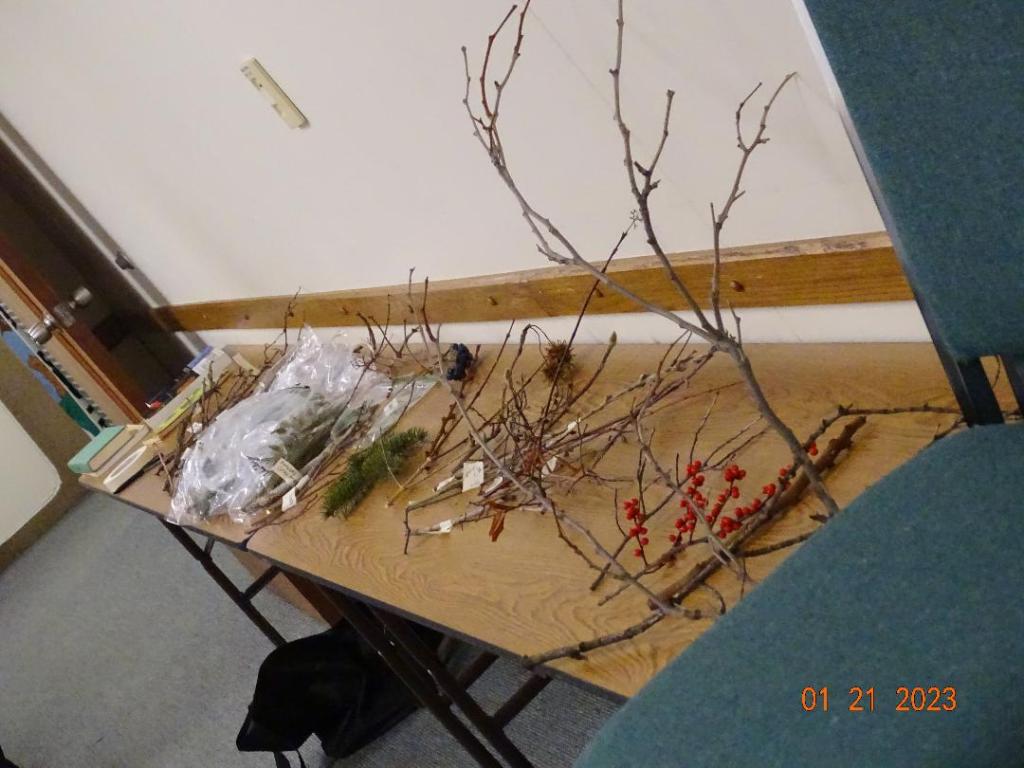
BELOW: a few of the many samples brought in to help us practice in recognizing the features to ID a tree.
Jennie, using one of the specimens; points out a feature to focus on. Following her suggestions, the members
selected branches to ID.
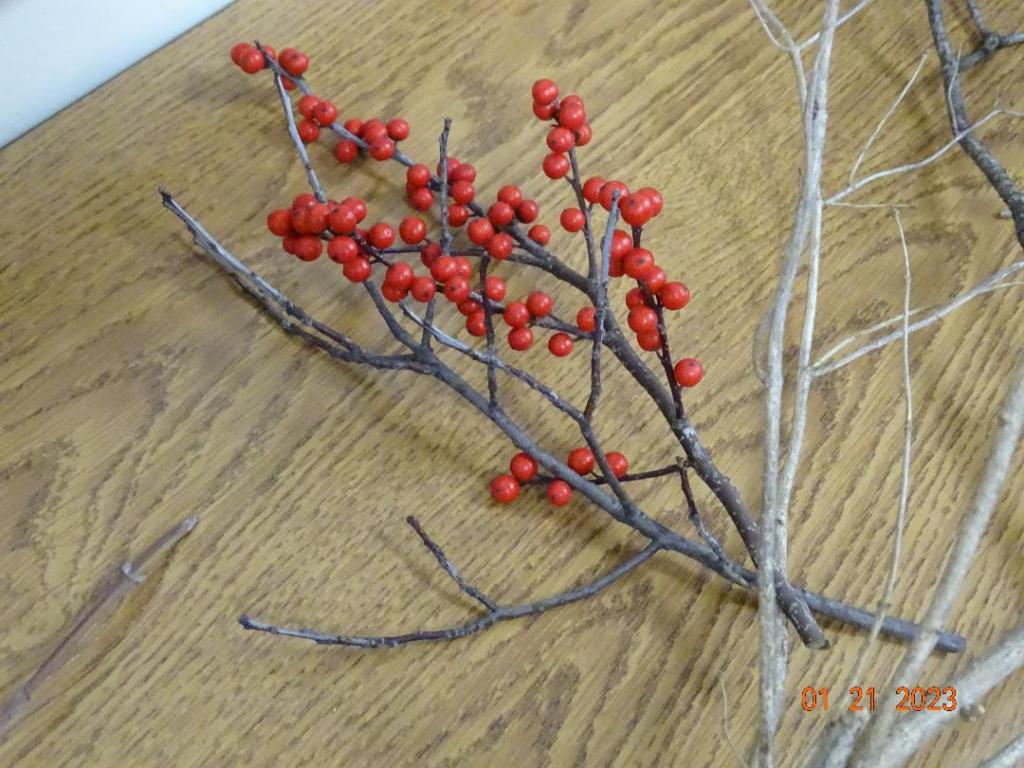
ABOVE:–the two darker wood specimens a female and a male winterberry….using berries or fruit is an easy way to help ID a tree or shrub.
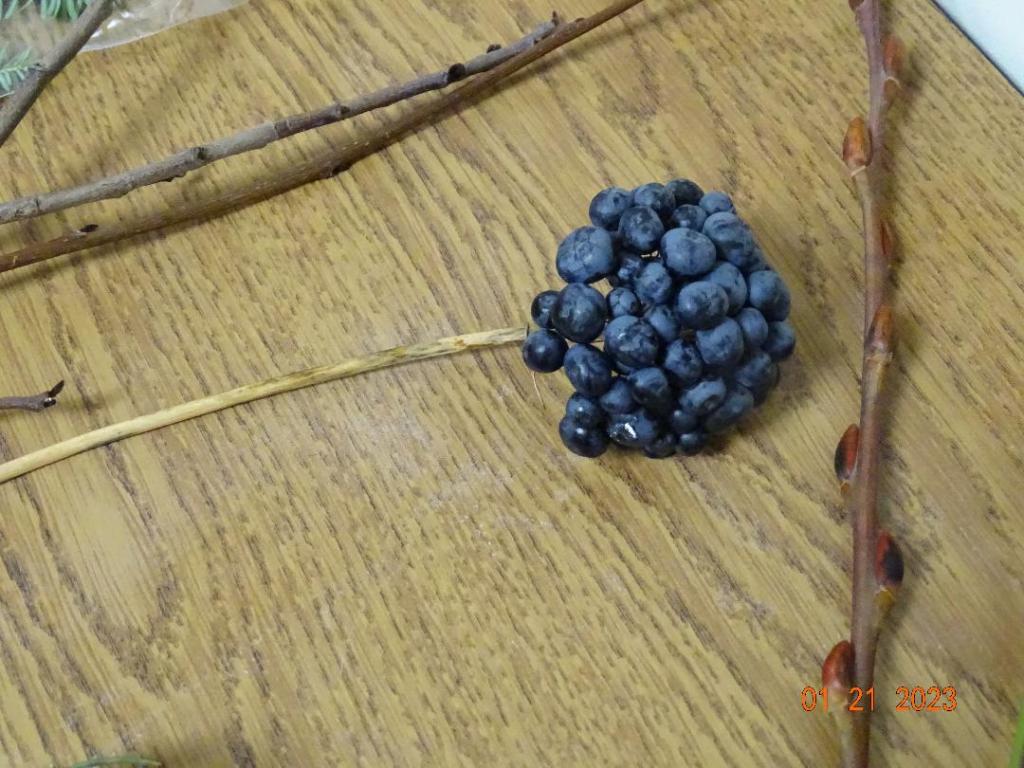
BELOW: Jennie sneaked in a trick plant. Do you know what it is?? Clue word, plant: feature the seed head
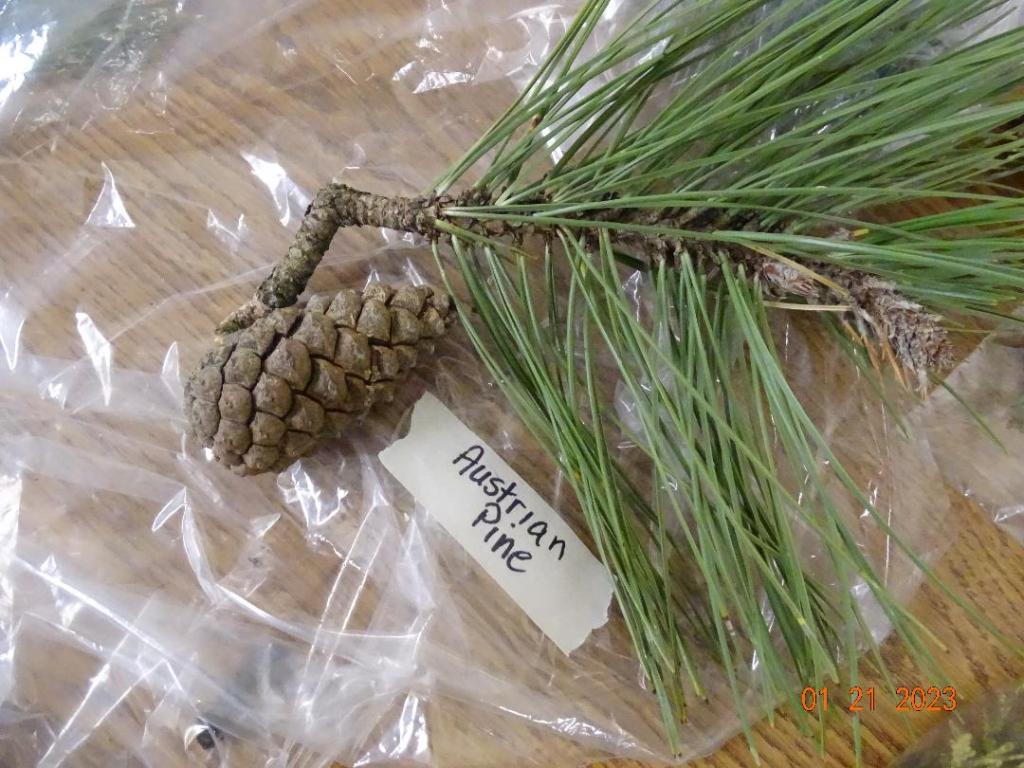
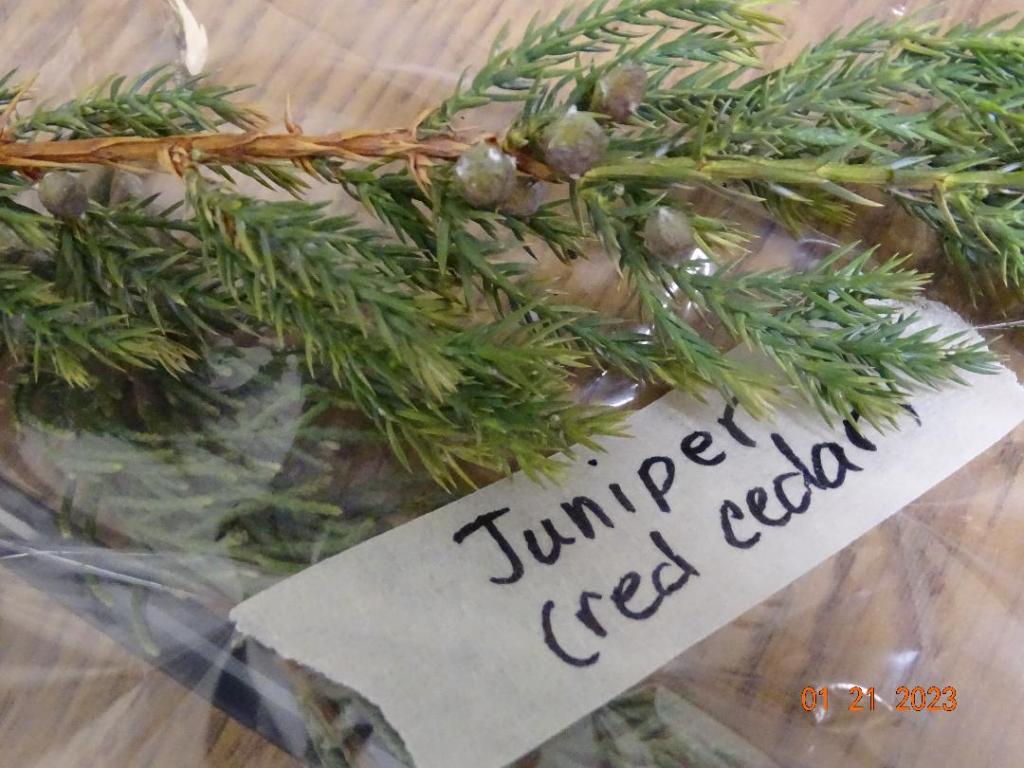
Now is also a good time to ID conifers and other evergreen trees; using their cones, & needles to help.
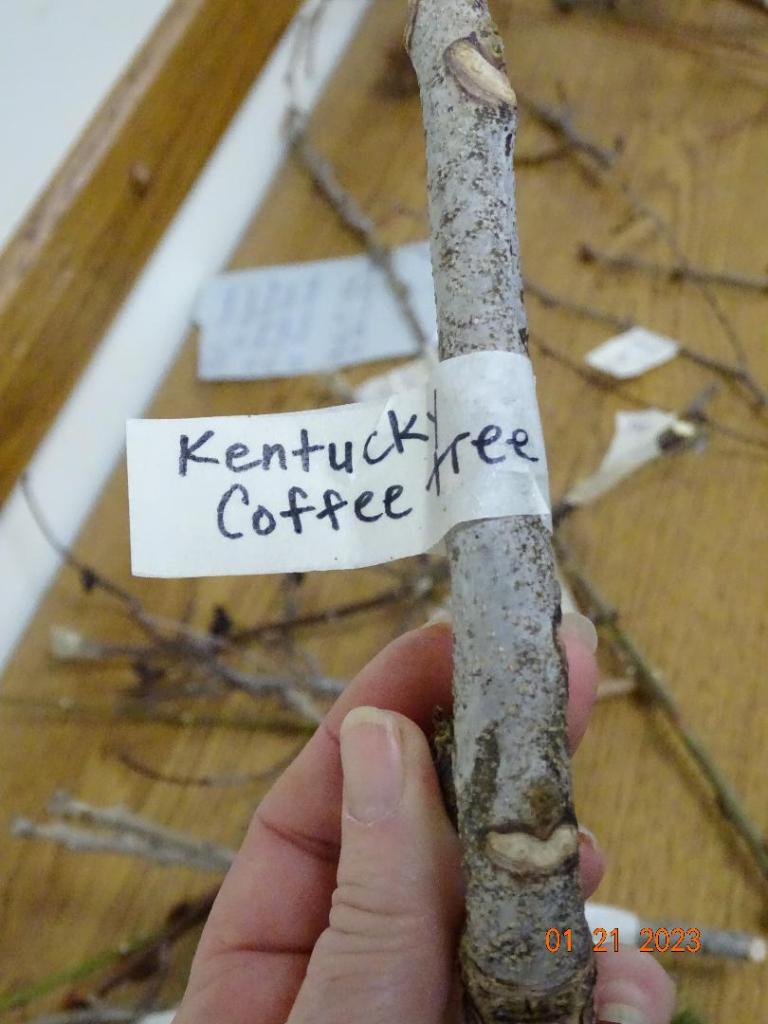
Use the bark & other markings along the stems to help with naming a tree. The bottom one is labeled, can you name the
tree above????
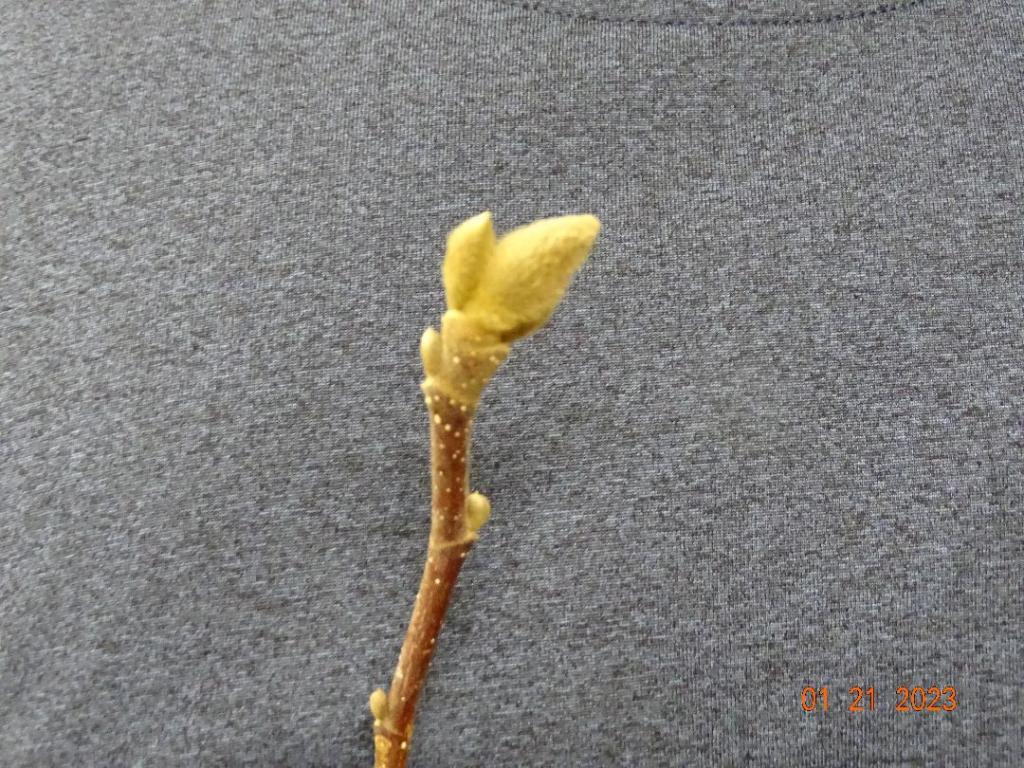
Of course, another feature would be the buds found on your spring blooming shrubs and trees ex: Magnolia.It was great seeing everyone again– looking forwardto another exciting season-won’t you join us…….. Answers: trick specimen; Smilax Herbacea & the “camo” bark belongs to a Sycamore. g
Here is another opportunity: maybe a bit closer esp for you western county folks.
Check out the Lenawee County Tree sale-Adrian Different products–but still offer trees and shrubsalong with daylilies (one caught my eye) & books–one on morel mushrooms as well as someother interesting topics.
Remember folks…..both of these organizations will gladly welcome any volunteer help……..the only sad thing is that they are both on the samewknd which makes it rough……..but I am sure you canwork something out with either one……….